Houdini Assets & Tools
Rock Generator 2.7
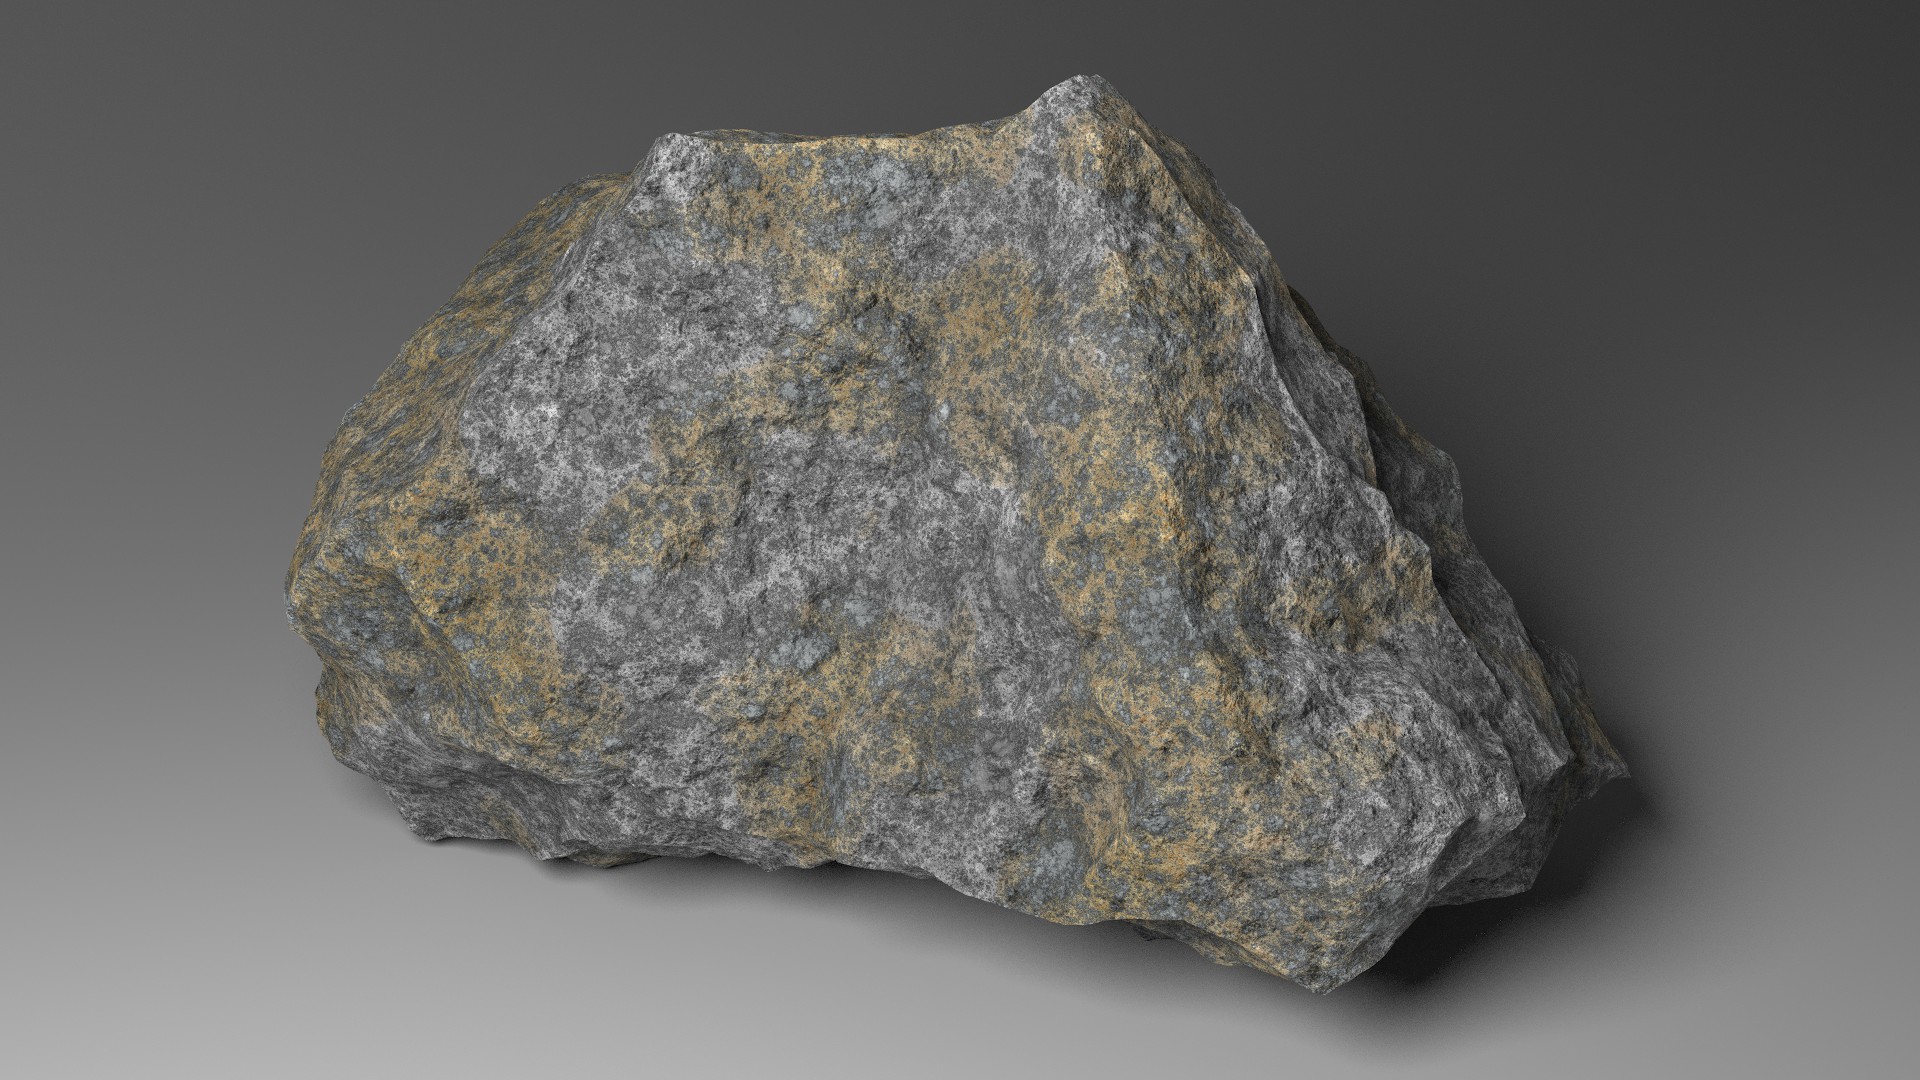
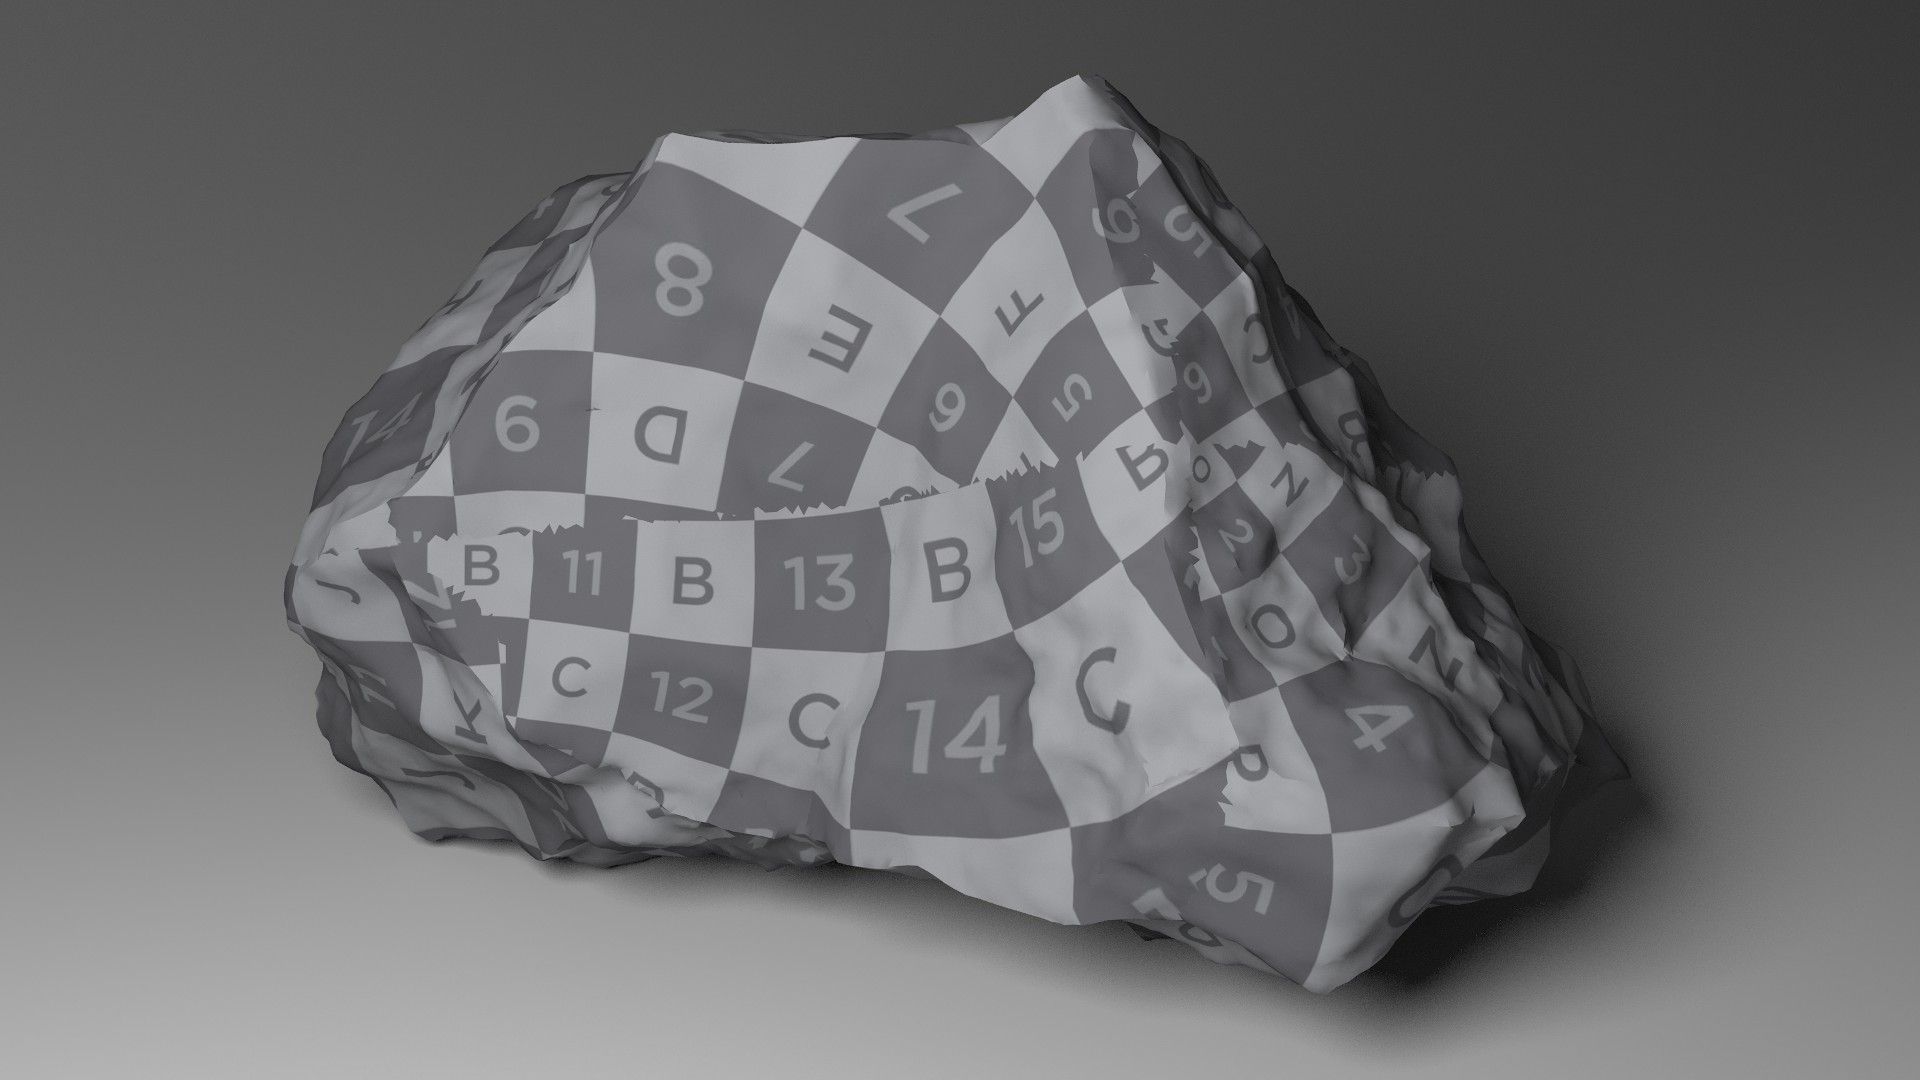
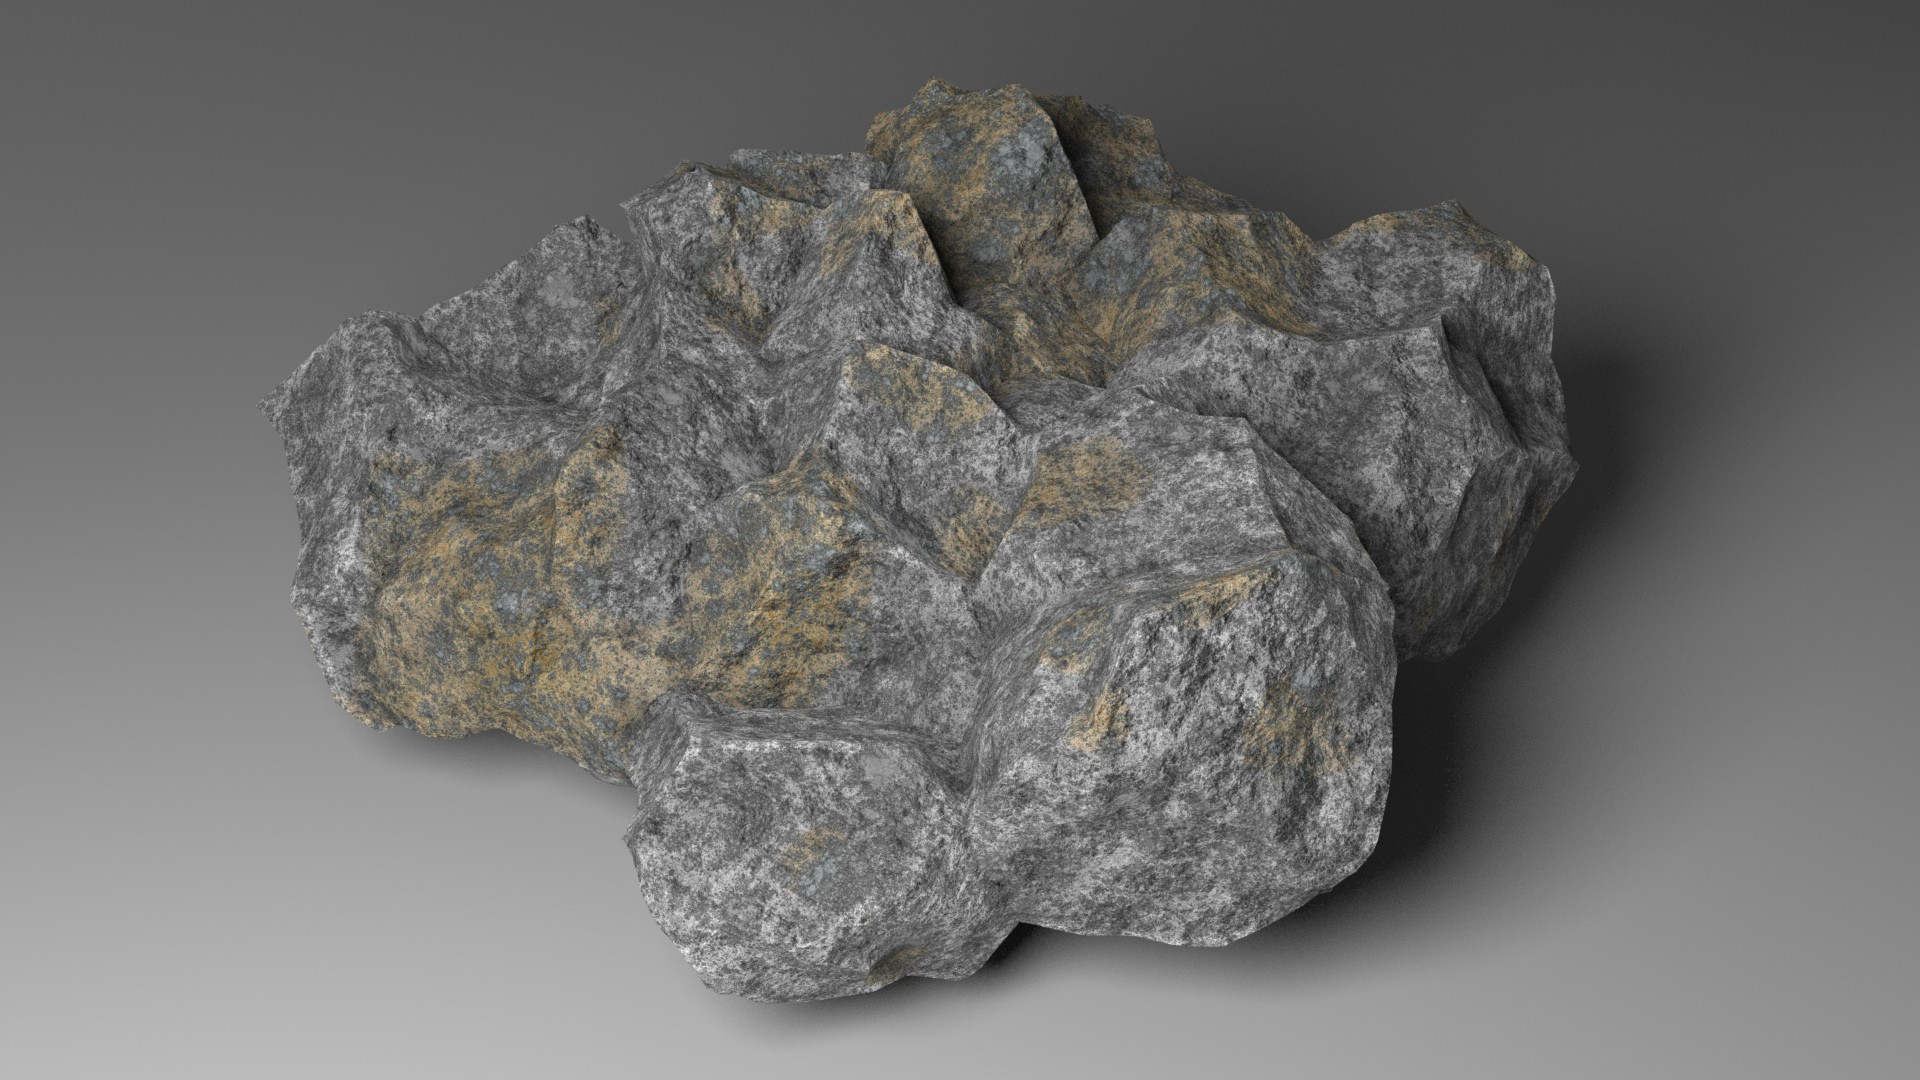
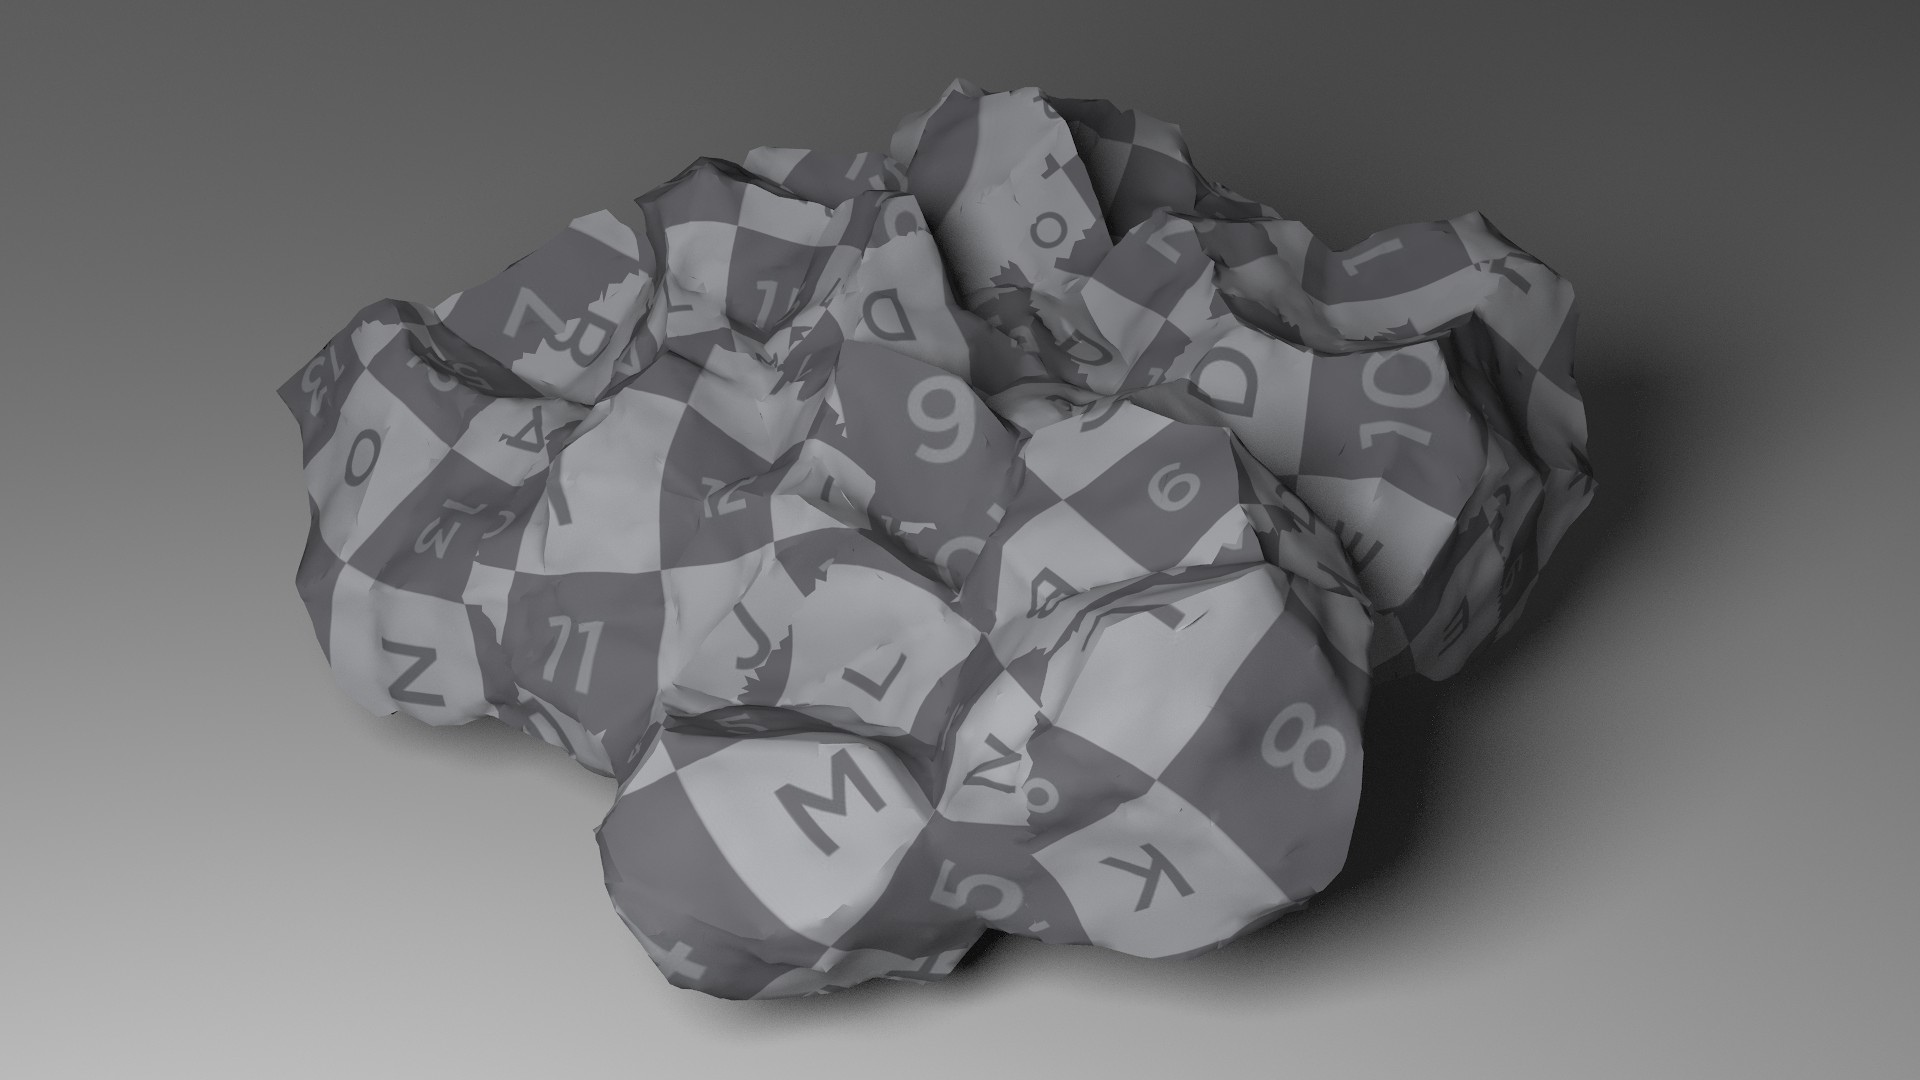
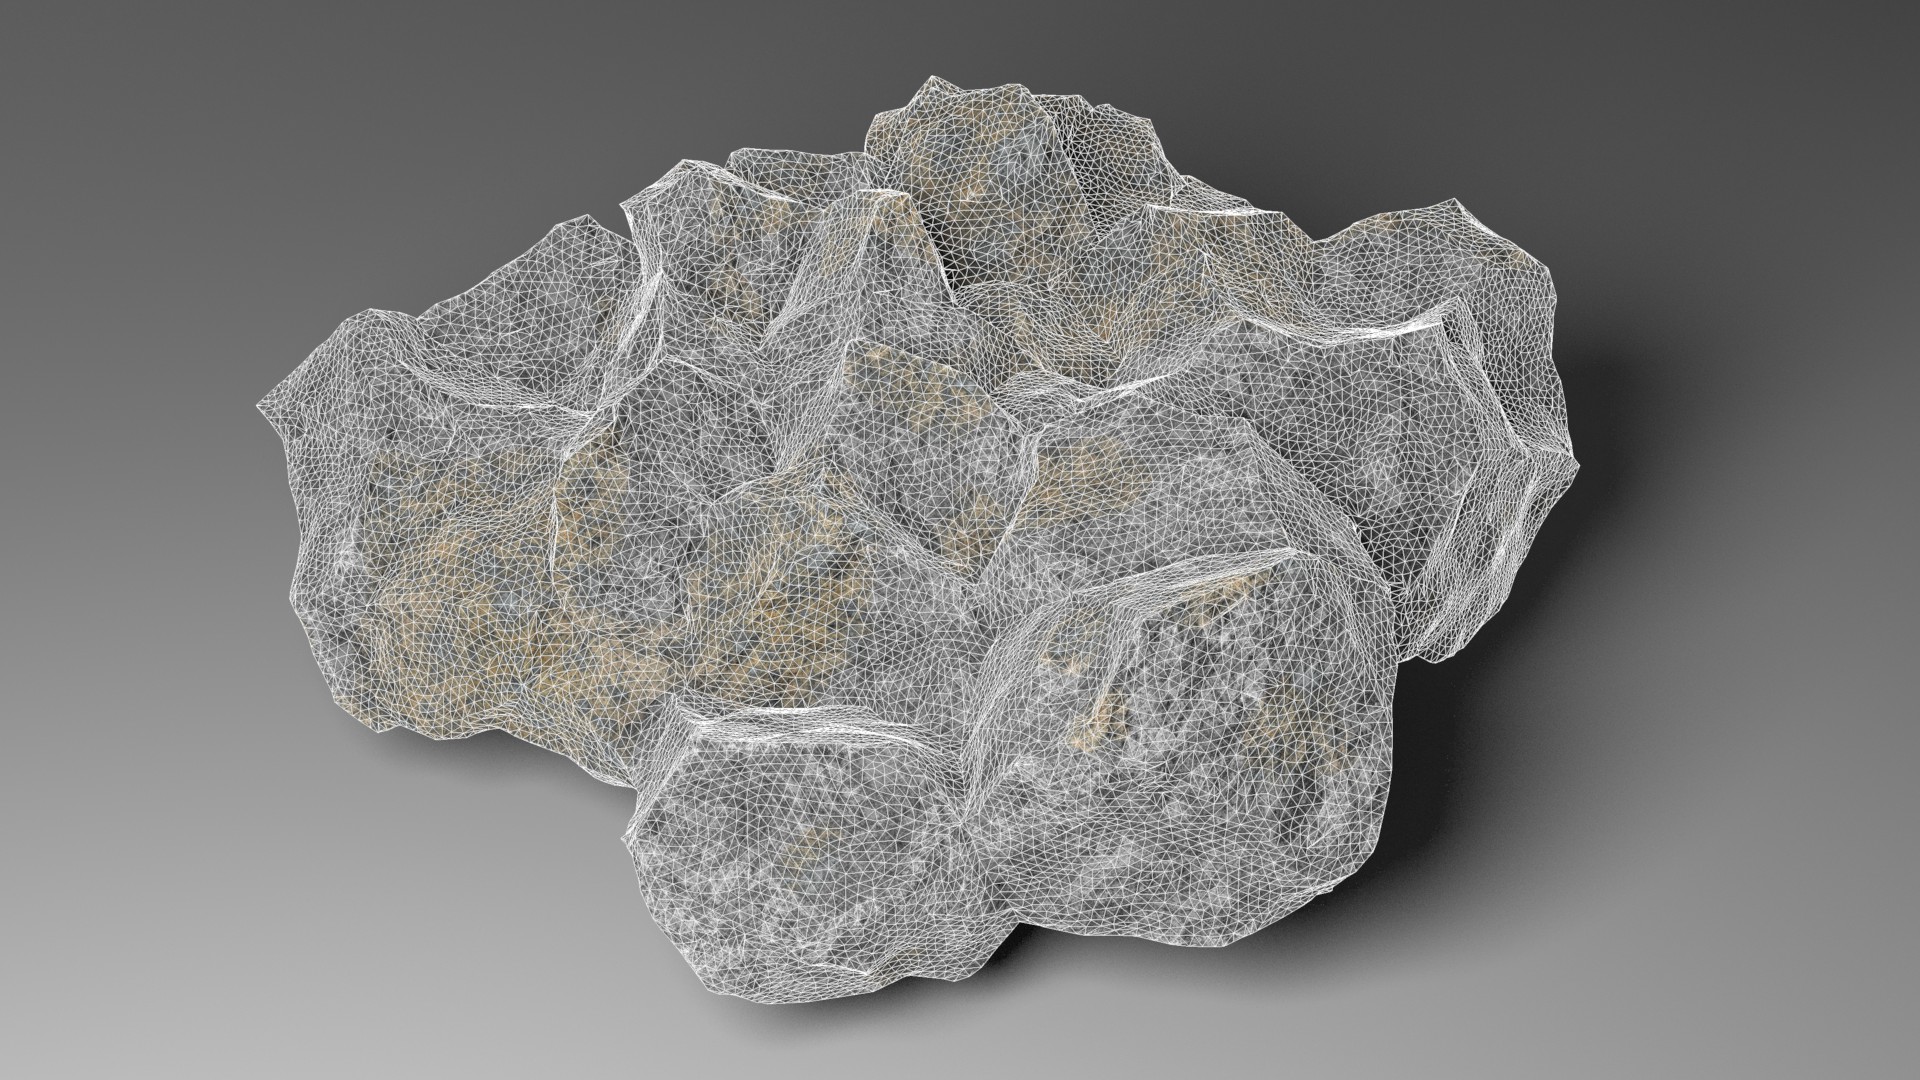
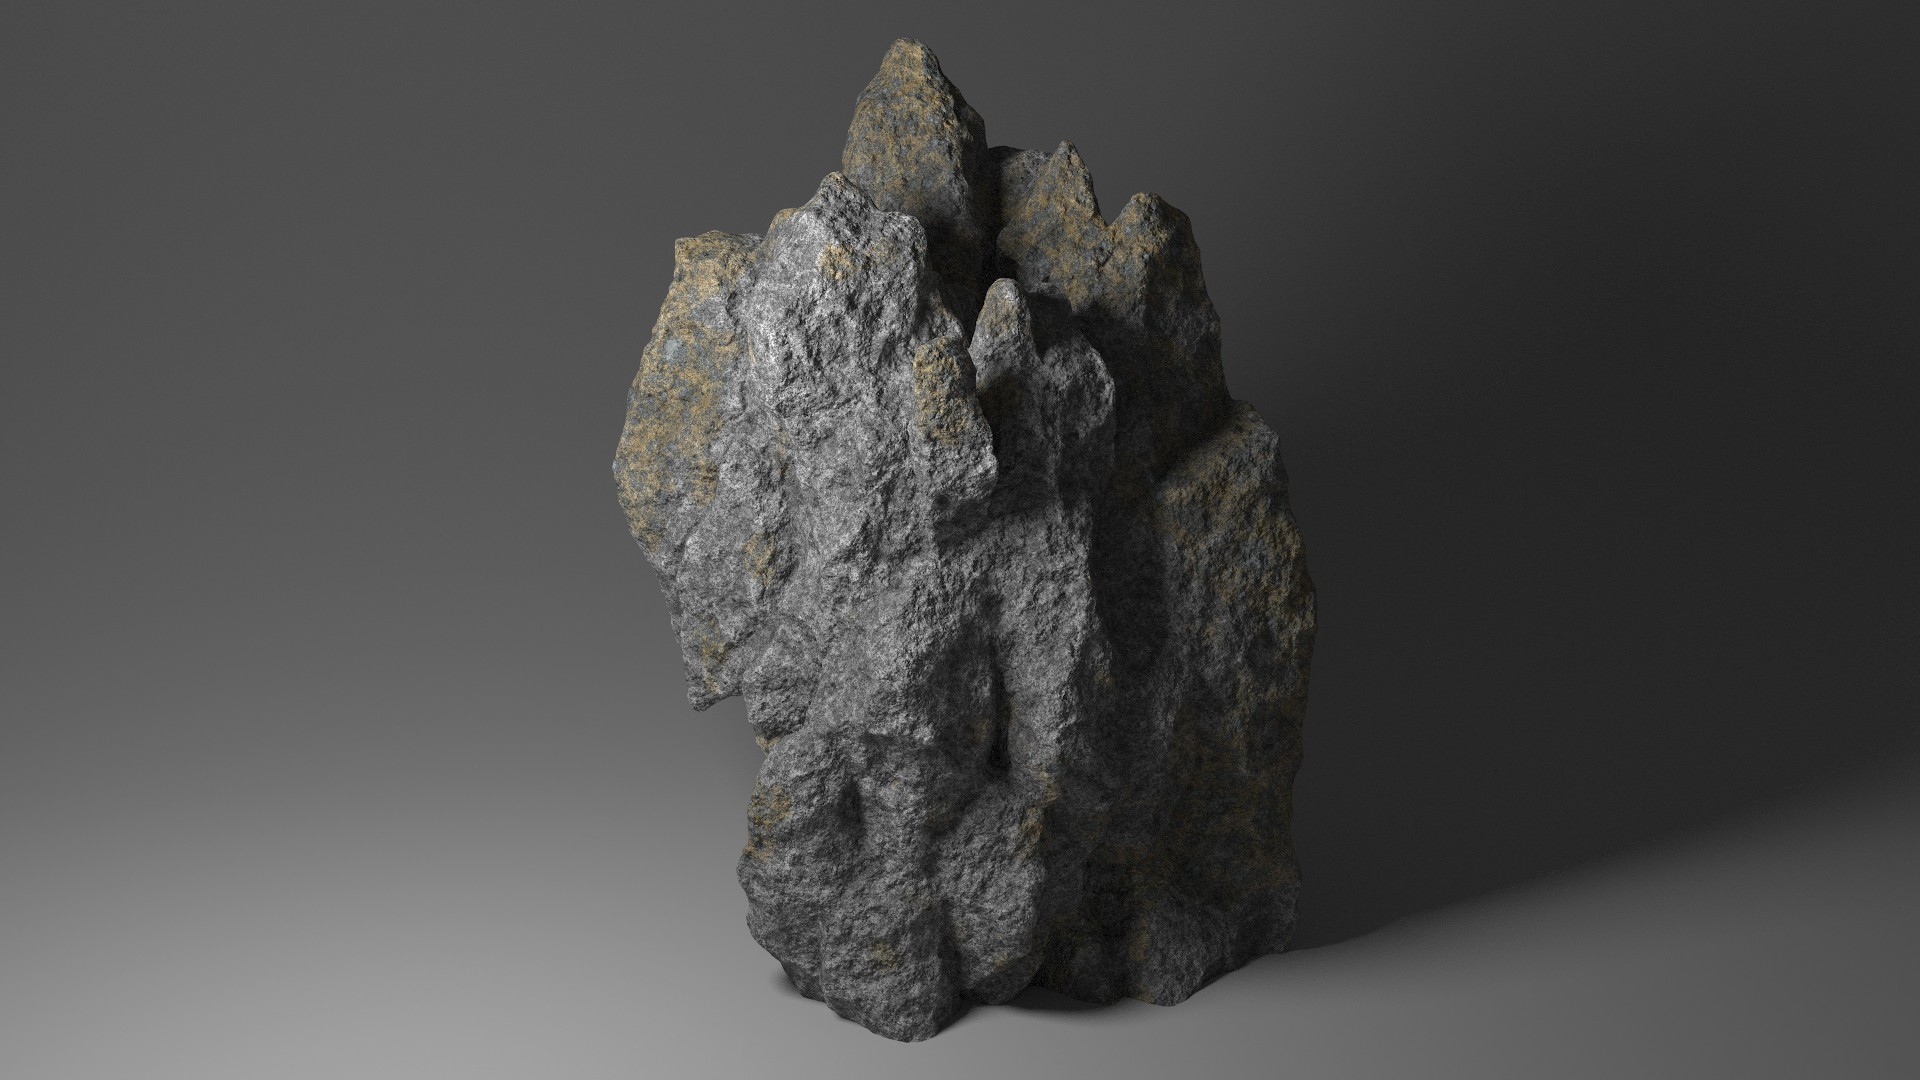
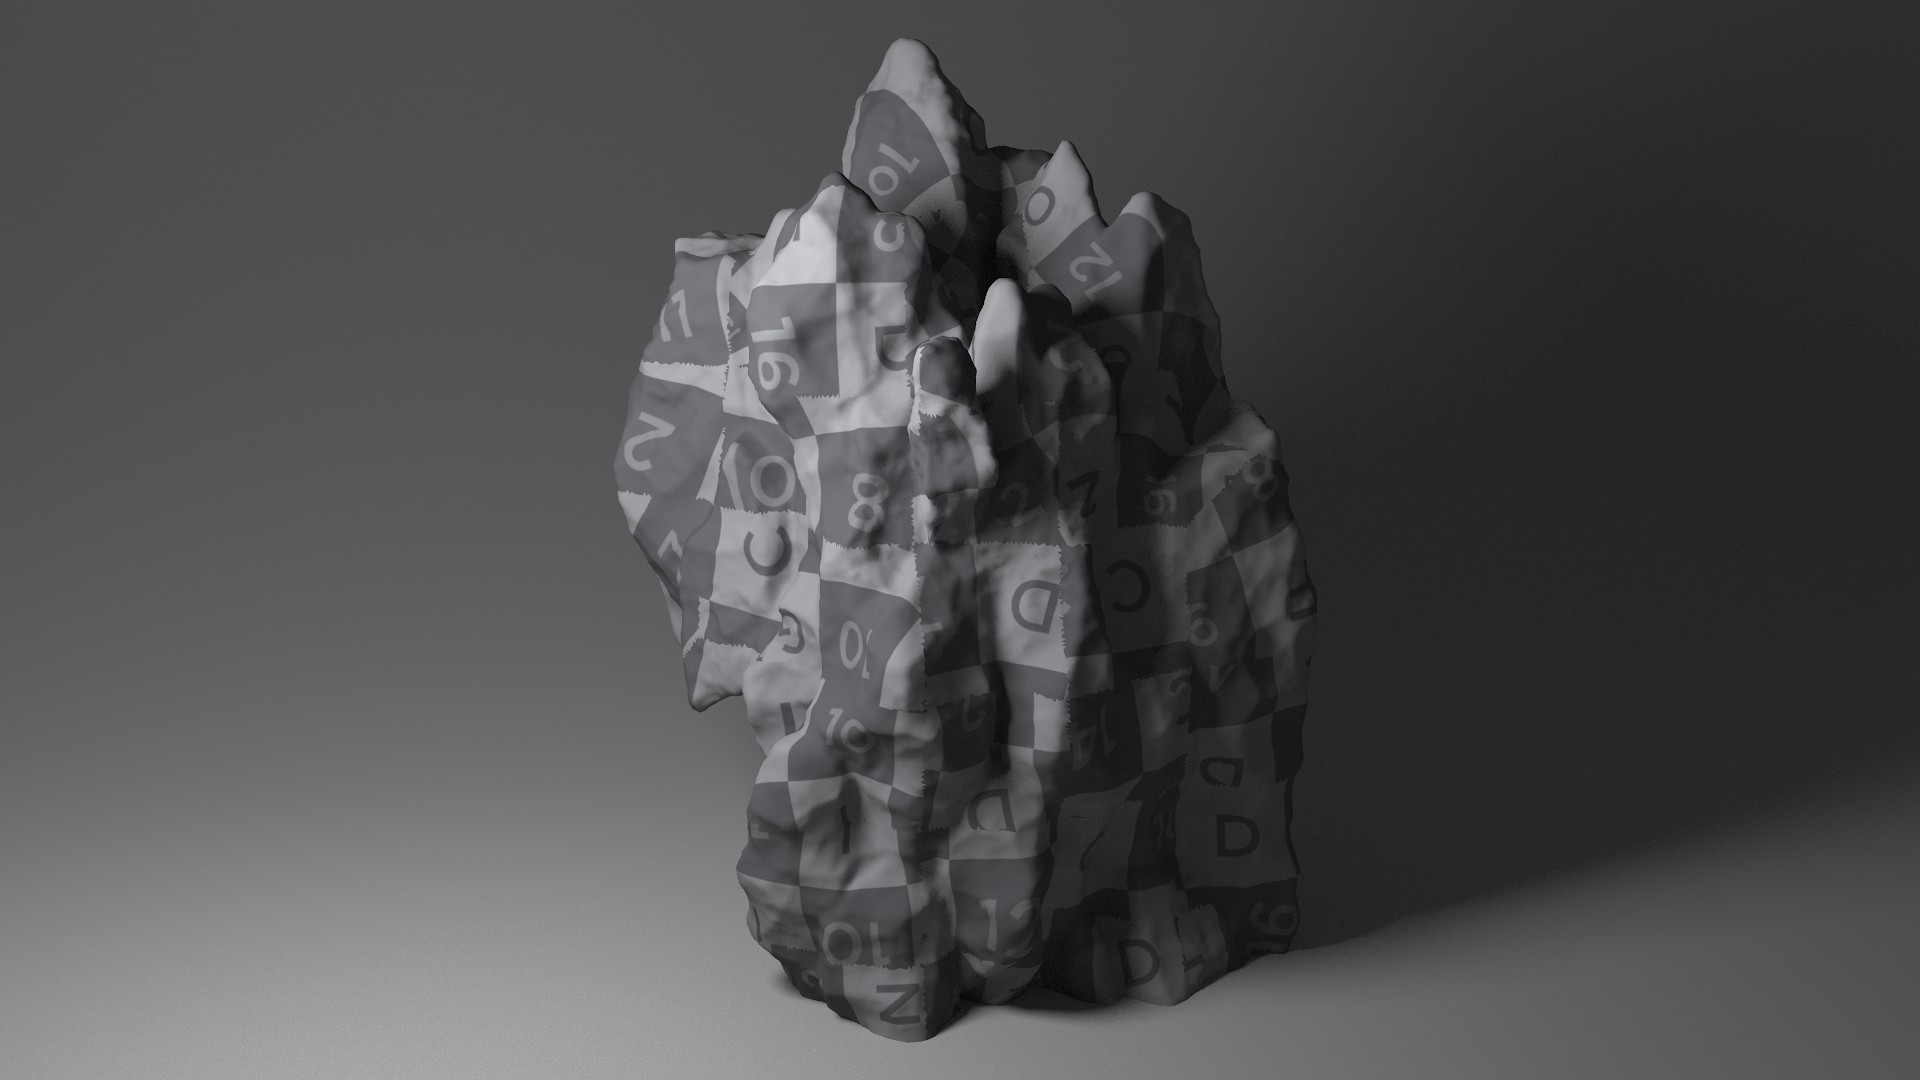
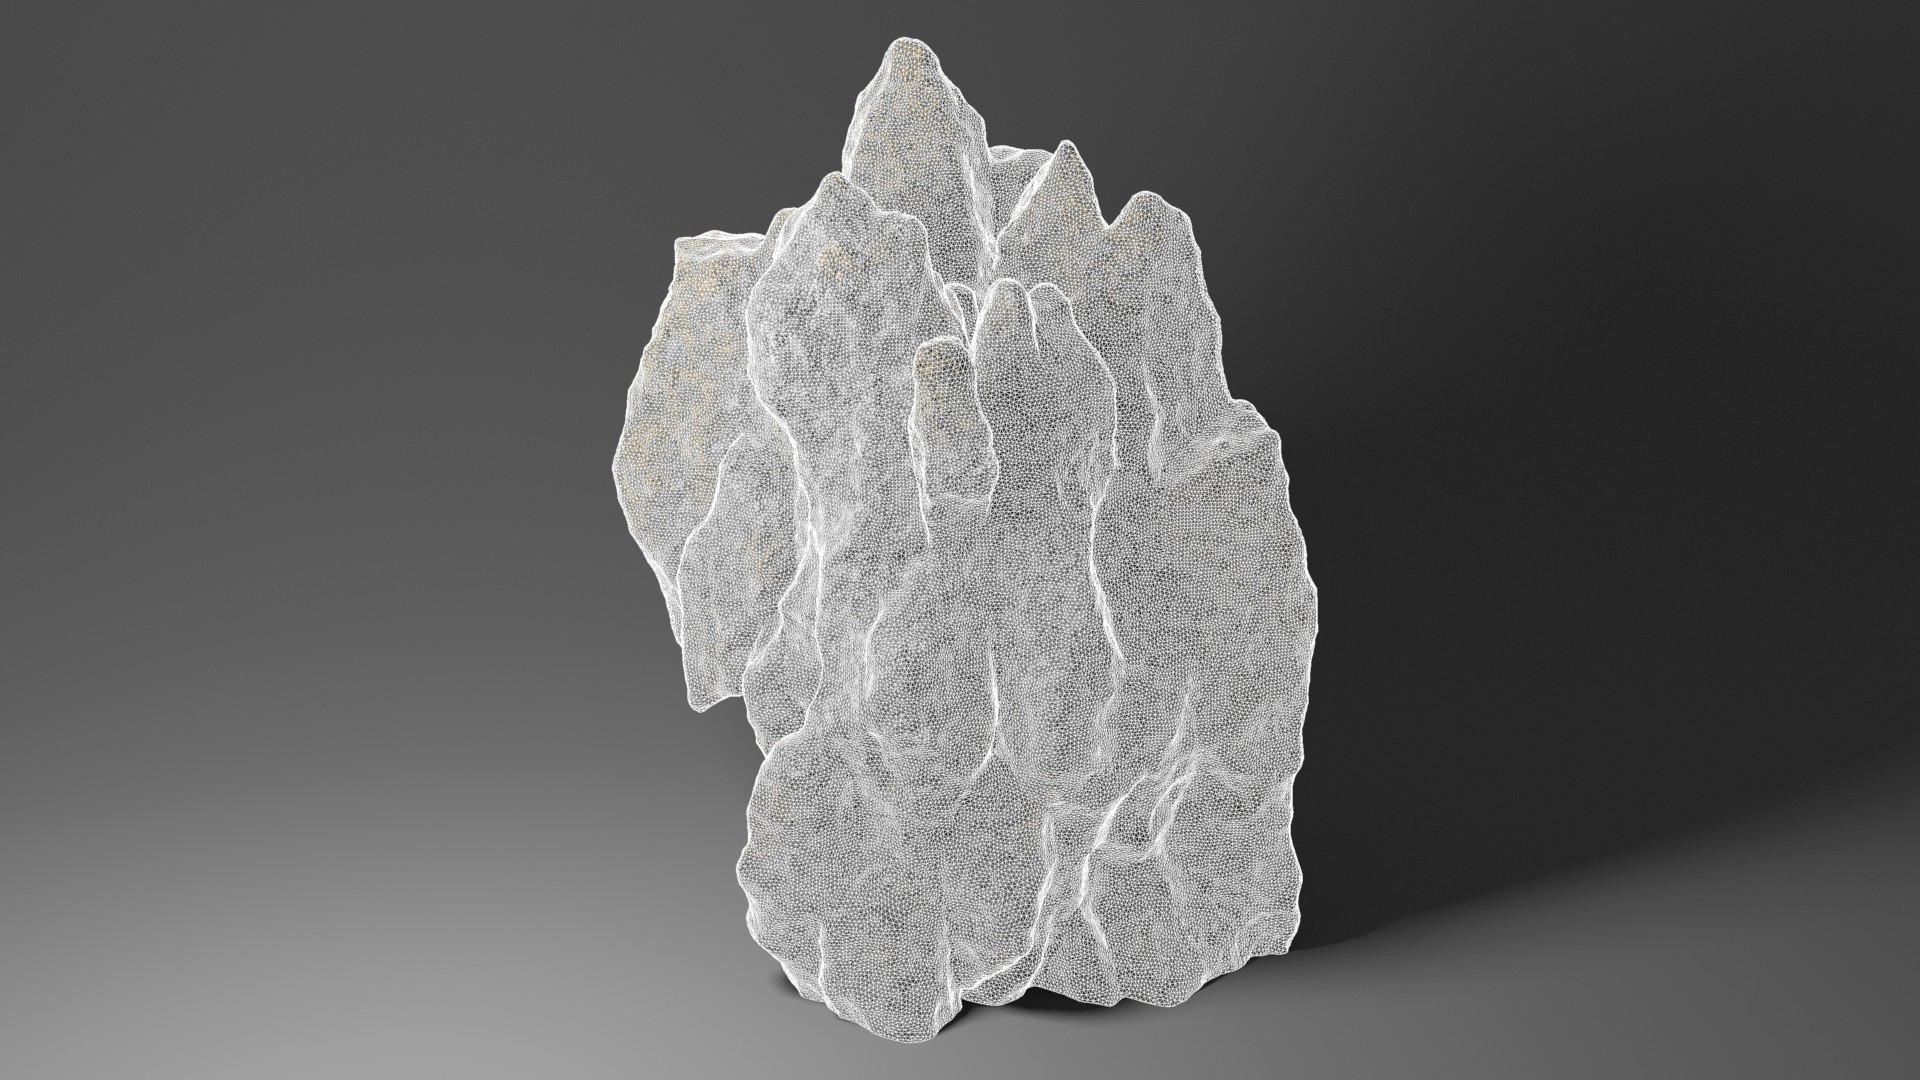
- Added four "Color" sections on the material. One or more can be enabled at the same time.
- Added a "Mask" section in each "Color" section. This can be a combination of a noise mask, a normal (direction) mask and an attribute mask.
- Added additional noises under all material sections.
- Added an "Attribute" section under "Brightness".
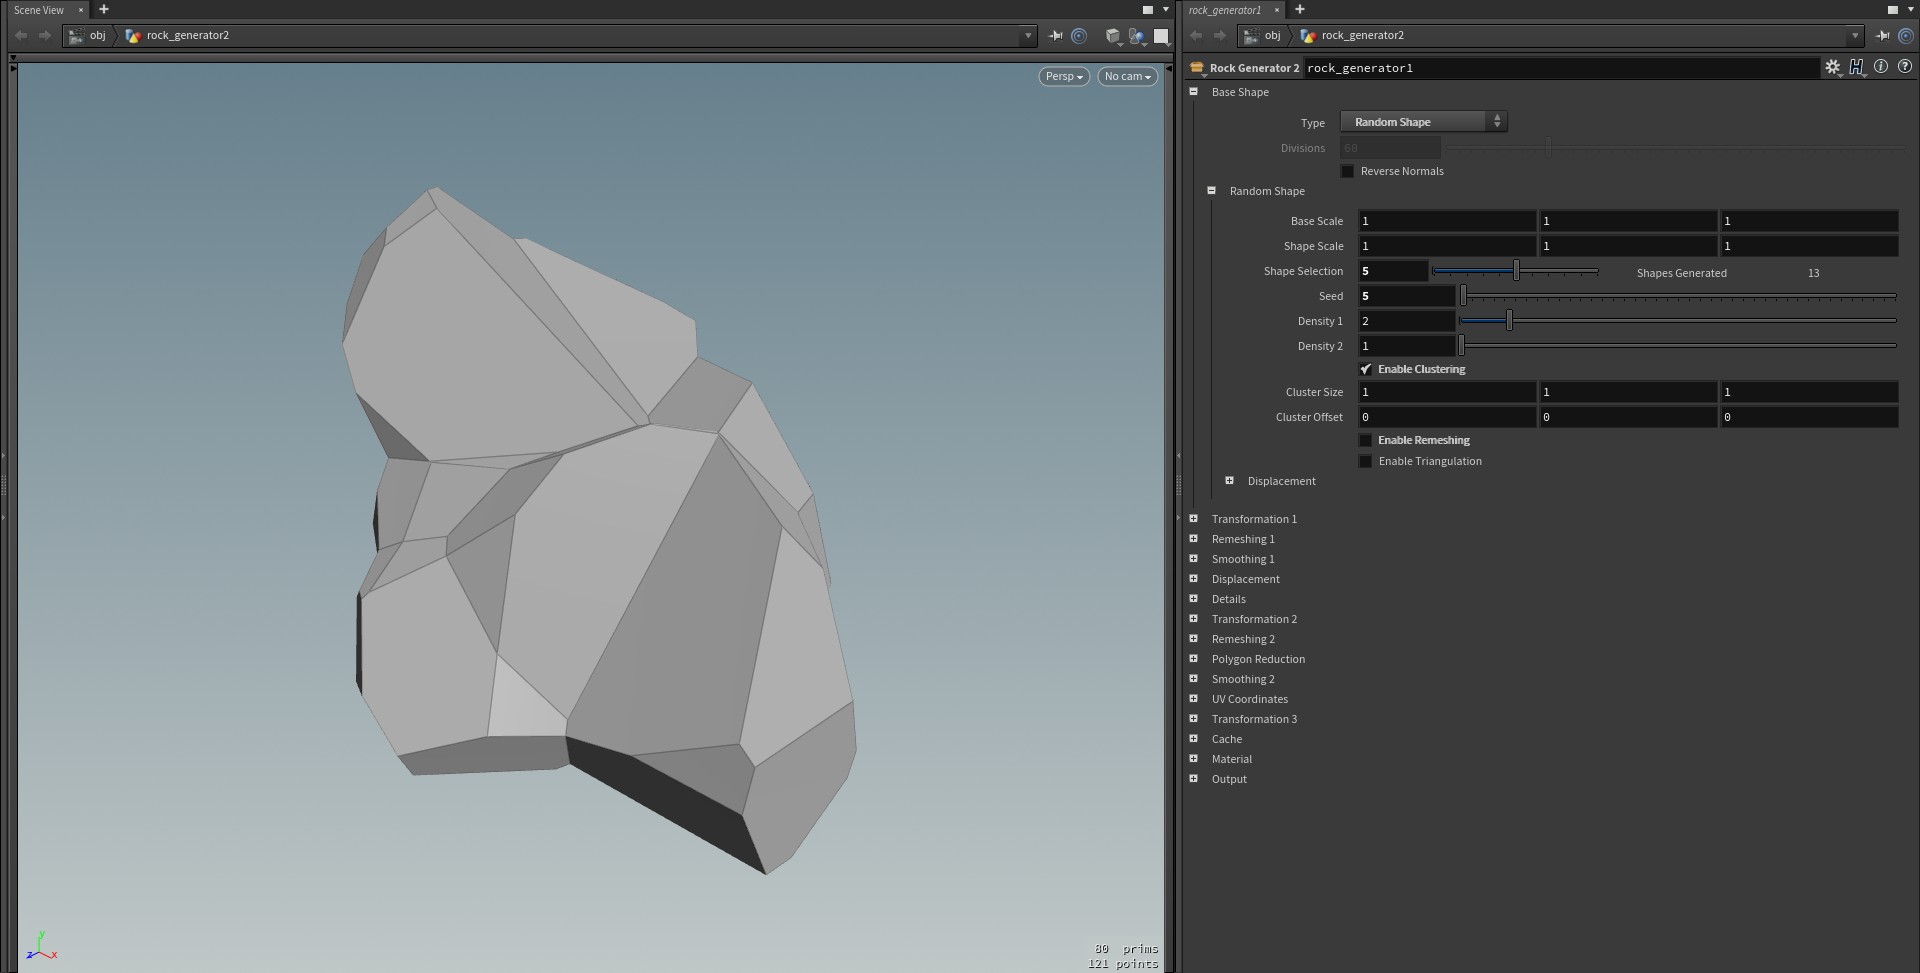
- Added "Union", "Preview", "Number of Shapes", "Scale", "Seed", "Min/Max Scale", "Rotate", "Min/Max Rotation", "Translate", "Min/Max Translation" under "Base Shape" > "Random Shape" > "Combine Shapes". This combines multiple random shapes using a boolean union.
- Renamed "Enabled Clustering" to "Cluster" and moved that and "Density 1/2" to "Base Shape" > "Random Shape" > "Combine Shapes".
- Added "Combined Displacement". This is a combination of volume displacement and a boolean union or intersect between the original shape and the displaced shape.
- Renamed "Cusp Normals on Cracks" to "Cusp Normals on Geometry Displacement 2 Edges" under "Output" > "Normals".
- Added "Cusp Normals on Combined Displacement Edges" under "Output" > "Normals".
- Renamed "Preserve Cracks" to "Preserve Geometry Displacement 2 Edges" under "Displacement" > "Remeshing" and fixed an issue where it wasn't applied correctly.
- Added "Preserve Combined Displacement Edges" under "Displacement" > "Remeshing"
- Added "Generate Attribute", "Attribute Name" and "Disable Displacement" for each displacement noise under "Geometry Displacement 1". The first two parameters stores the noise/displacement values in an attribute which can be useful in a material. The last one disables the displacement and only stores the values in the attributes.
- If "Volume Displacement 1" or "Combined Displacement" generates holes in the geometry or other faults, the asset node will now output the unmodified geometry and show a warning.
- Removed the material parameters from the Rock Generator asset. These are now only available in the Rock Material asset.
- When clicking "Render to Disk" under "Baking" it will now show a message that the baking has started, or show a warning if the geometry is missing a UV attribute.
- Fixed an issue with "Seed" under "Volume Displacement 1" > "Unified Noise" not working correctly.
- Fixed an issue when "Mode" was set to "Constant" under "Details" where it didn't scatter the rocks/crystals correctly.
- Fixed an issue where "Enable Remeshing" on "Random Shape" didn't always get enabled/disabled correctly.
- Fixed an issue with the global amount not affecting "Cracks" under "Volume Displacement 1".
- The locked/blackboxed asset is now available in two different HDA files depending on the Houdini version used: one file for v16.0 - v16.5 and one file for v17.0 - v18.0. This fixes an issue with "Volume Displacement 1" not working in the blackboxed asset when "Mode" is set to "Surface Normal Direction".
- The rock material is now available as a separate unlocked HDA file. This is a workaround for the issue with not being able to use the material in the blackboxed asset.
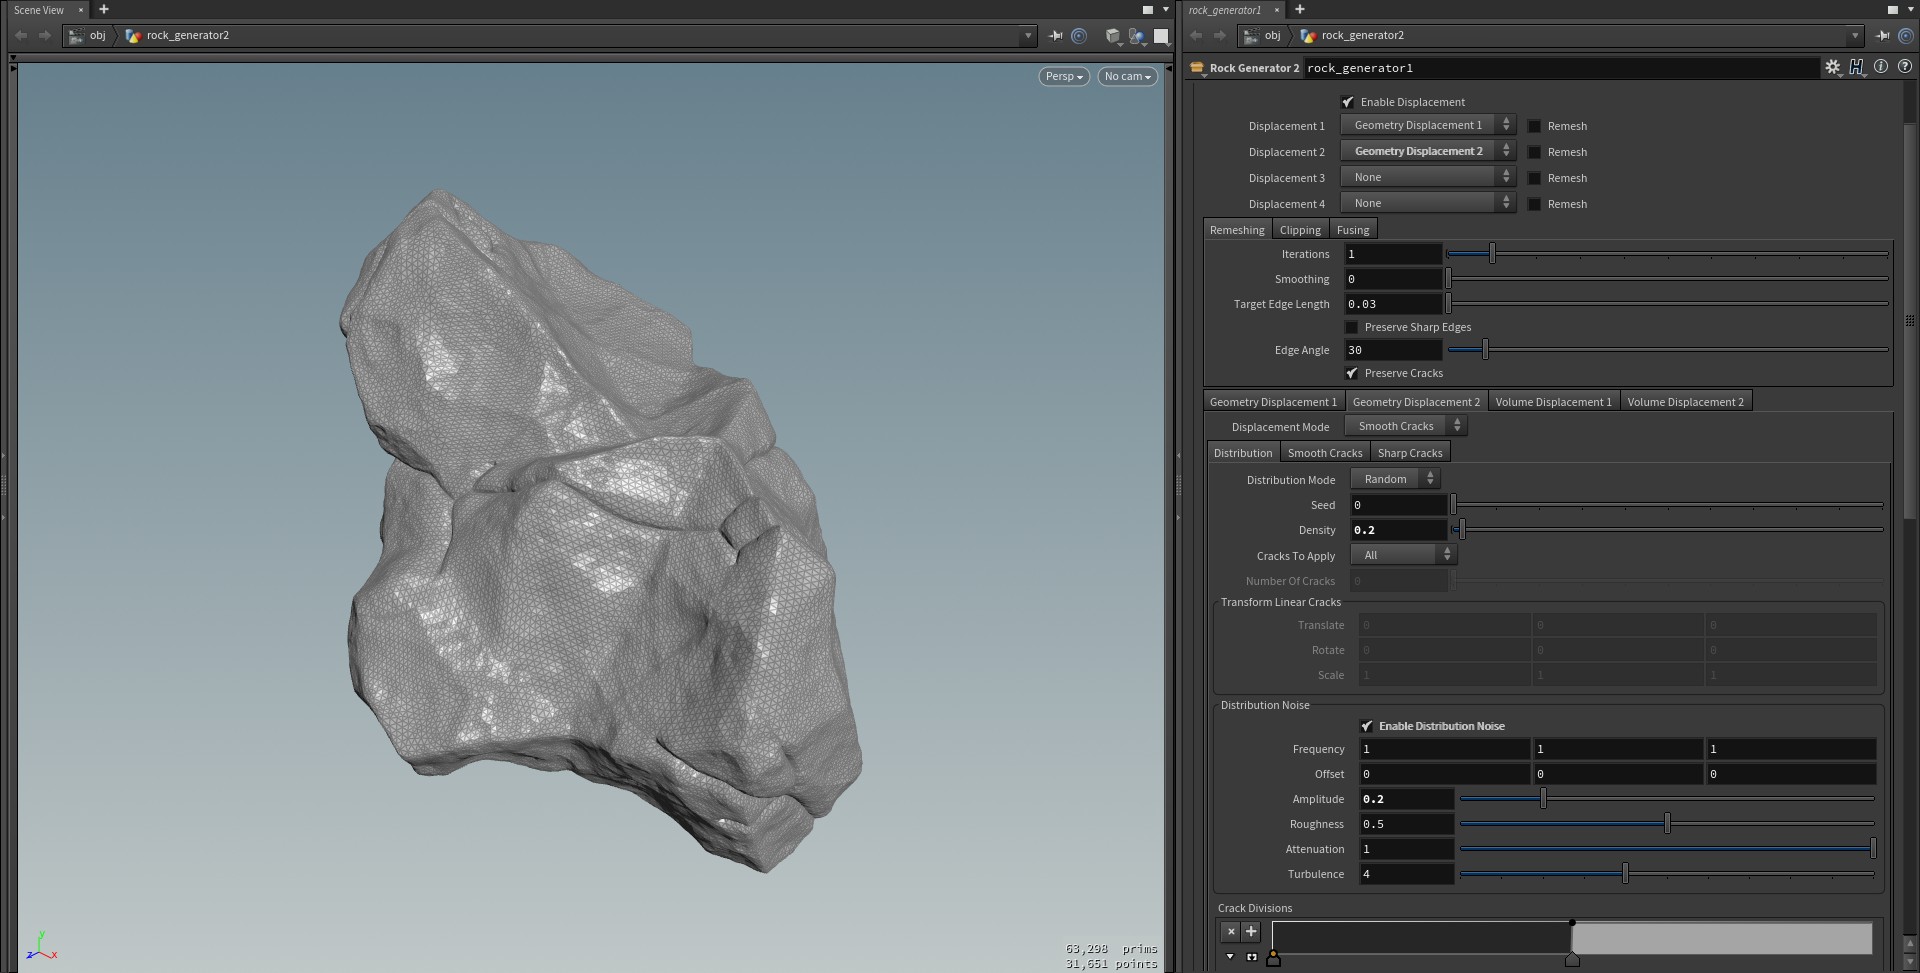
- Added "Mode" under "Geometry Displacement 2" > "Distribution" > "Crack Divisions" which can be set to either "Ramp" or "Noise".
- Added "Preview" under "Geometry Displacement 2" > "Smooth Cracks". Made some minor changes to how the preview is generated.
- Made some changes to how "Volume Displacement 2" and "Details" are generated. The results are slightly different from the previous version.
- If "Drop to Ground" is enabled under Transformation 1/2/3, it will now automatically re-simulate the drop if any parameters are changed.
- Improved the look for "Smooth Cracks" when the cracks pass over sharp edges.
- Changed the colors used for curvature visualization and uv seams to make it easier to see.
- Fixed an issue that could cause "Smooth Cracks" to generate spikes in the geometry.
- Fixed an issue that could cause "Volume Displacement 2" to generate multiple pieces of geometry.
- Removed all "Voxels to Expand" parameters since they're not needed. Use the "Exterior Band Voxels" parameters instead.
- Removed "Displacement" under "Base Shape" > "Random Shape" since the main "Displacement" section provides more control and gives better results.
- Renamed all parameters.
- Made som changes to the GUI.
- Updated the documentation.
- Made the asset available for purchase on Gumroad.
- Improved the way linear and random UV seams are generated.
- Changed the asset prices.
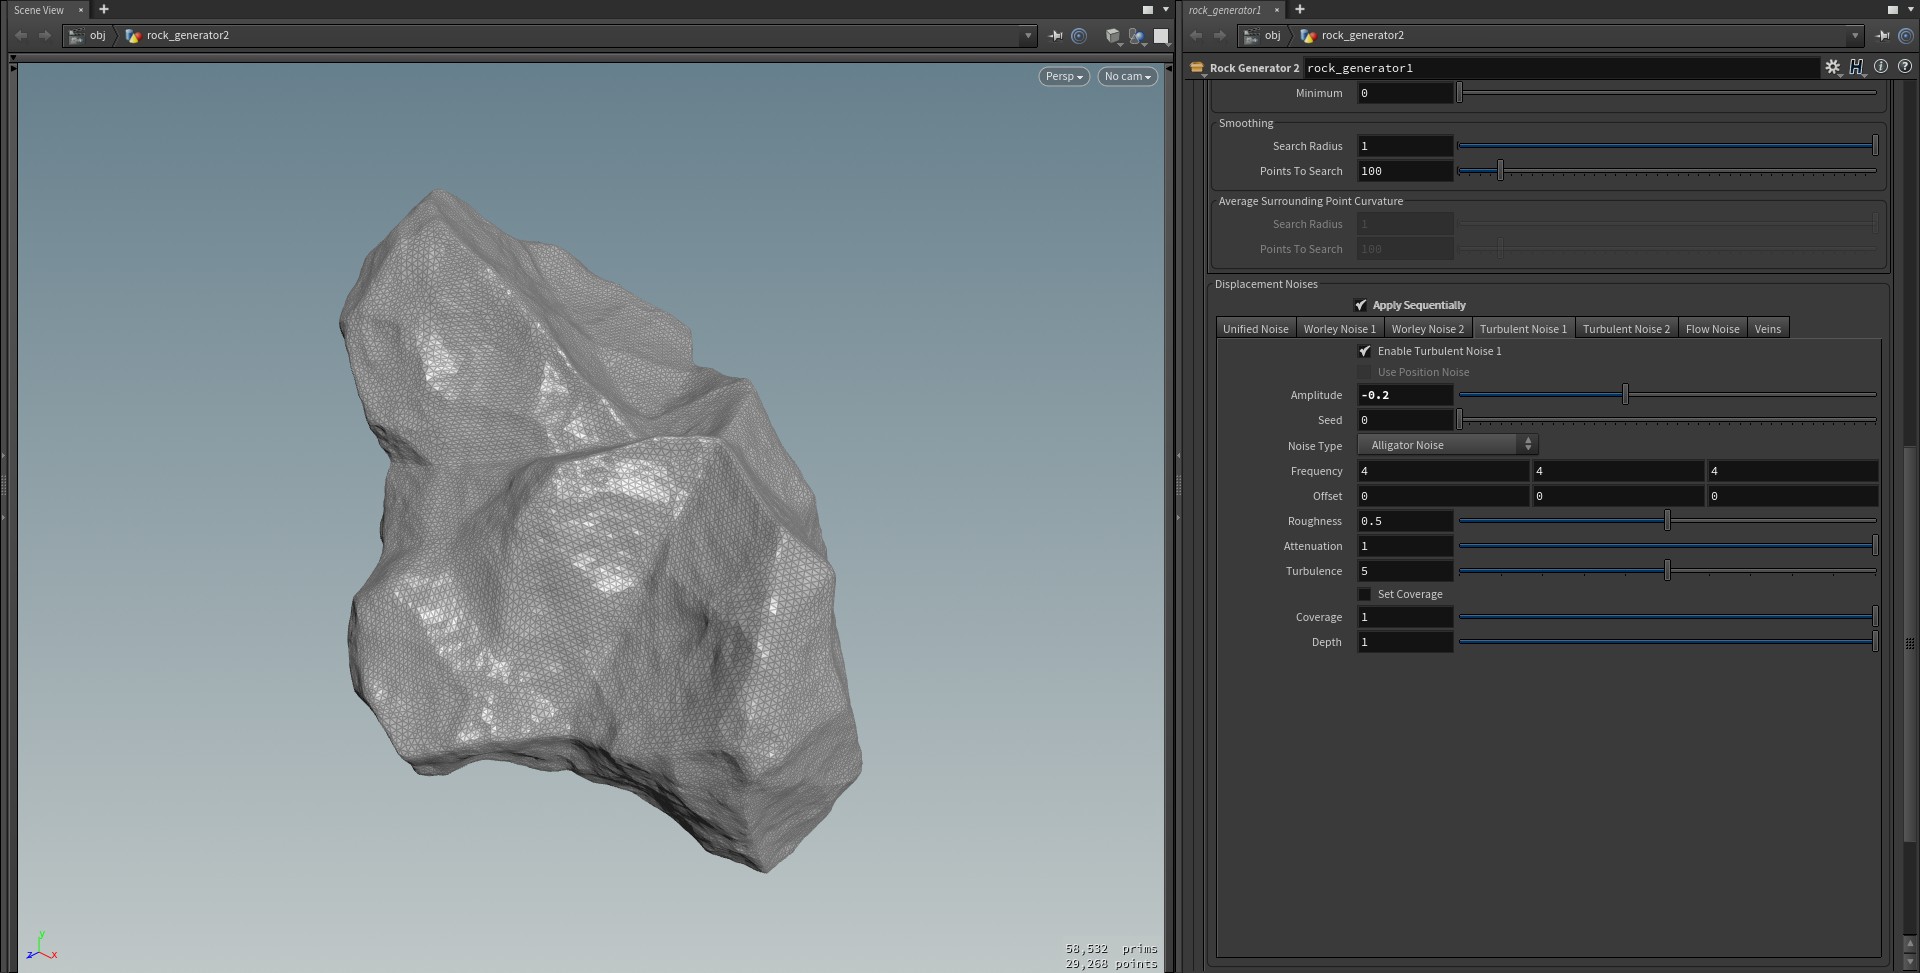
- Added "Apply Sequentially" under "Geometry Displacement 1" > "Displacement Noises". When enabled, displacement is applied once per noise. The average point normal/curvature/normal difference is re-calculated for each noise. When disabled, all noises are added together and applied as a single displacement.
- Updated the documentation.
- Added "Enable Displacement", "Enable Bump", "Bump Amount", "Bump Noise" and removed "Displacement Mode" under "Material" > "Displacement". This allows both displacement and bump to be applied at the same time.
- Replaced the internal material node "Classic Shader Core" with "Principled Shader Core". This was done to improve the look of bump displacement.
- Renamed "Specular Intensity" to "Reflectivity" under "Material" > "Procedural Material".
- Renamed "Specular Roughness" to "Roughness".
- Renamed "Affect Specular Intensity" and to "Affect Reflectivity".
- Renamed "Specular Intensity Mode" to "Reflectivity Mode".
- Renamed "Specular Intensity" to "Reflectivity" under "Material" > "Baking" > "Image Planes".
- Added "Bump" under "Material" > "Baking" > "Image Planes".
- Fixed an issue when enabling both material displacement and "Cusp Normals On Cracks" at the same time. It's now only possible to have "Cusp Normals On Cracks" enabled when material displacement is disabled.
- Updated the documentation.
- The asset has been re-created in Houdini 16 and several old internal nodes have been replaced with the new Houdini 16 nodes.
- The studio version of the asset is now unlocked so the nodes inside can be viewed and edited.
- The "Base Shape" > "Shape Generation" section has been renamed to "Random Shape" and the previous "Generator 1" and 2 have been merged into one generator and simplified.
- A new "Geometry Displacement 2" section has been added under "Displacements". This creates smooth or sharp cracks over the surface. The previous "Geometry Displacement" section has been renamed to "Geometry Displacement 1".
- "Displacement" > "Remeshing" can now preserve edges / cracks created by the new "Geometry Displacement 2".
- The "Curvature" section under "Geometry Displacement 1" now has separate parameters for convex and concave curvature.
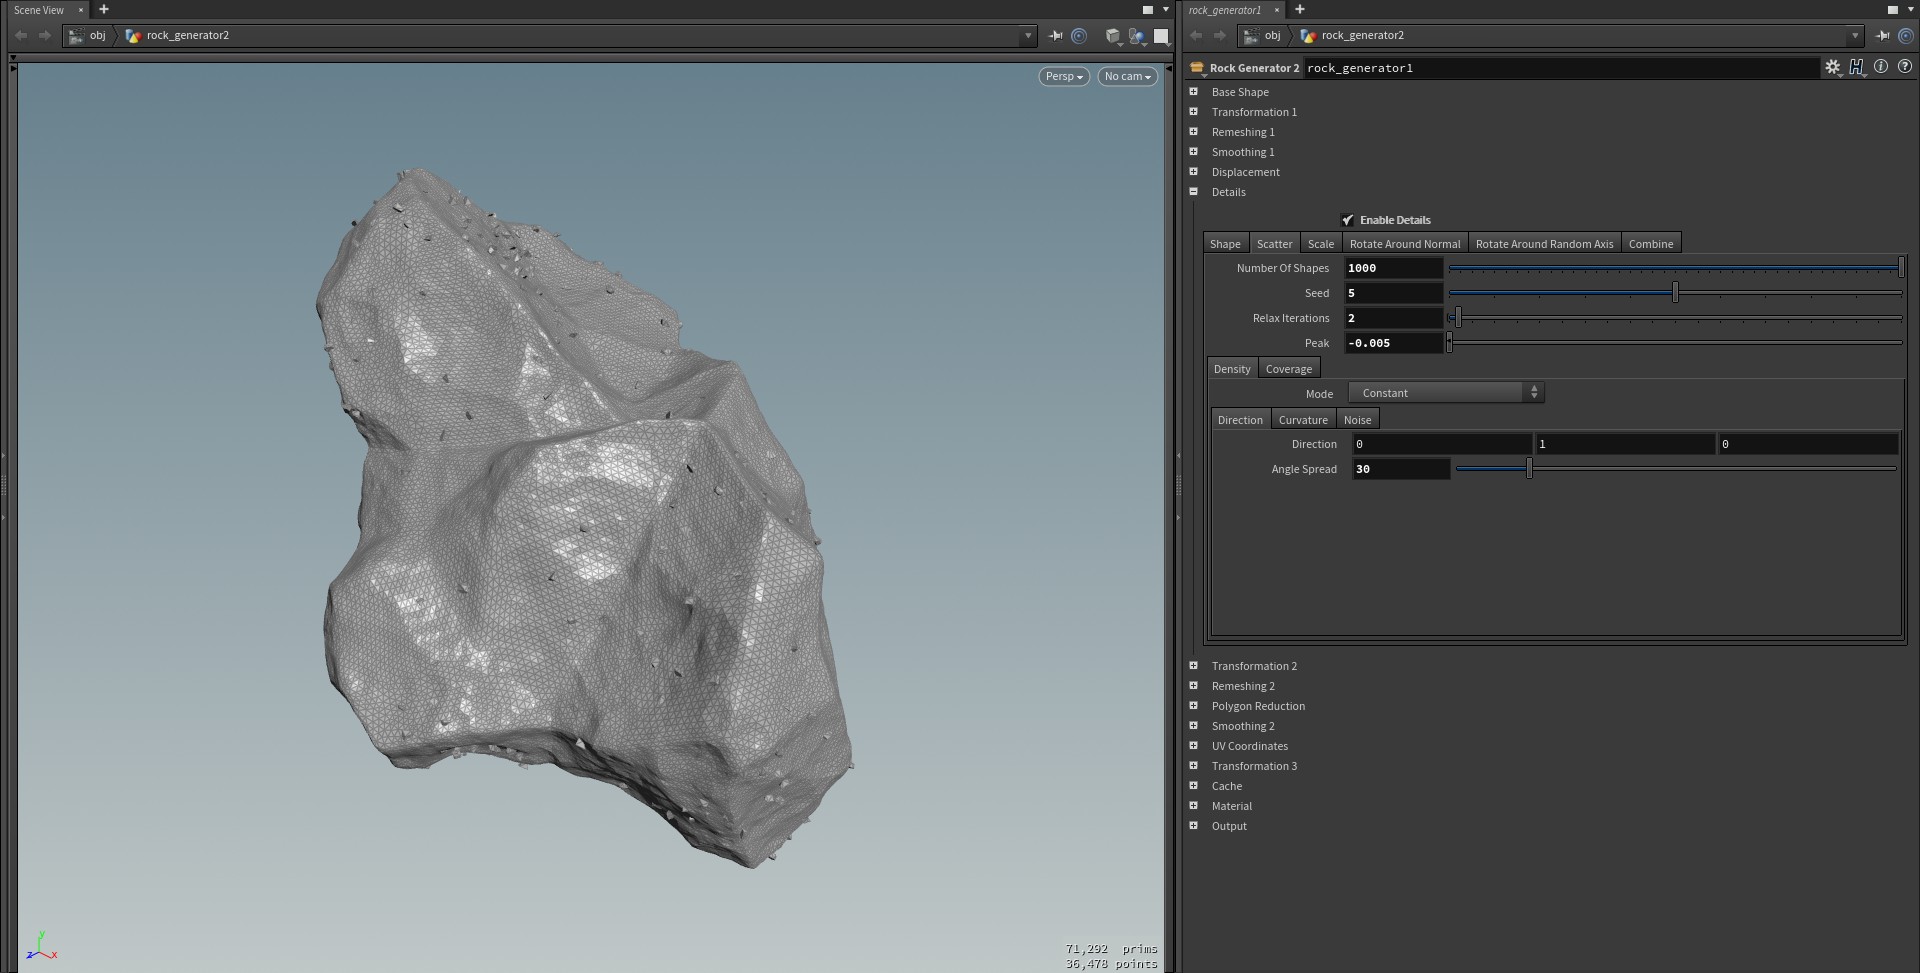
- A new "Details" section has been added which replaces the previous "Crystals" section. This section can now generate either random rocks or crystals to scatter around the main shape and provides much better control over the placement.
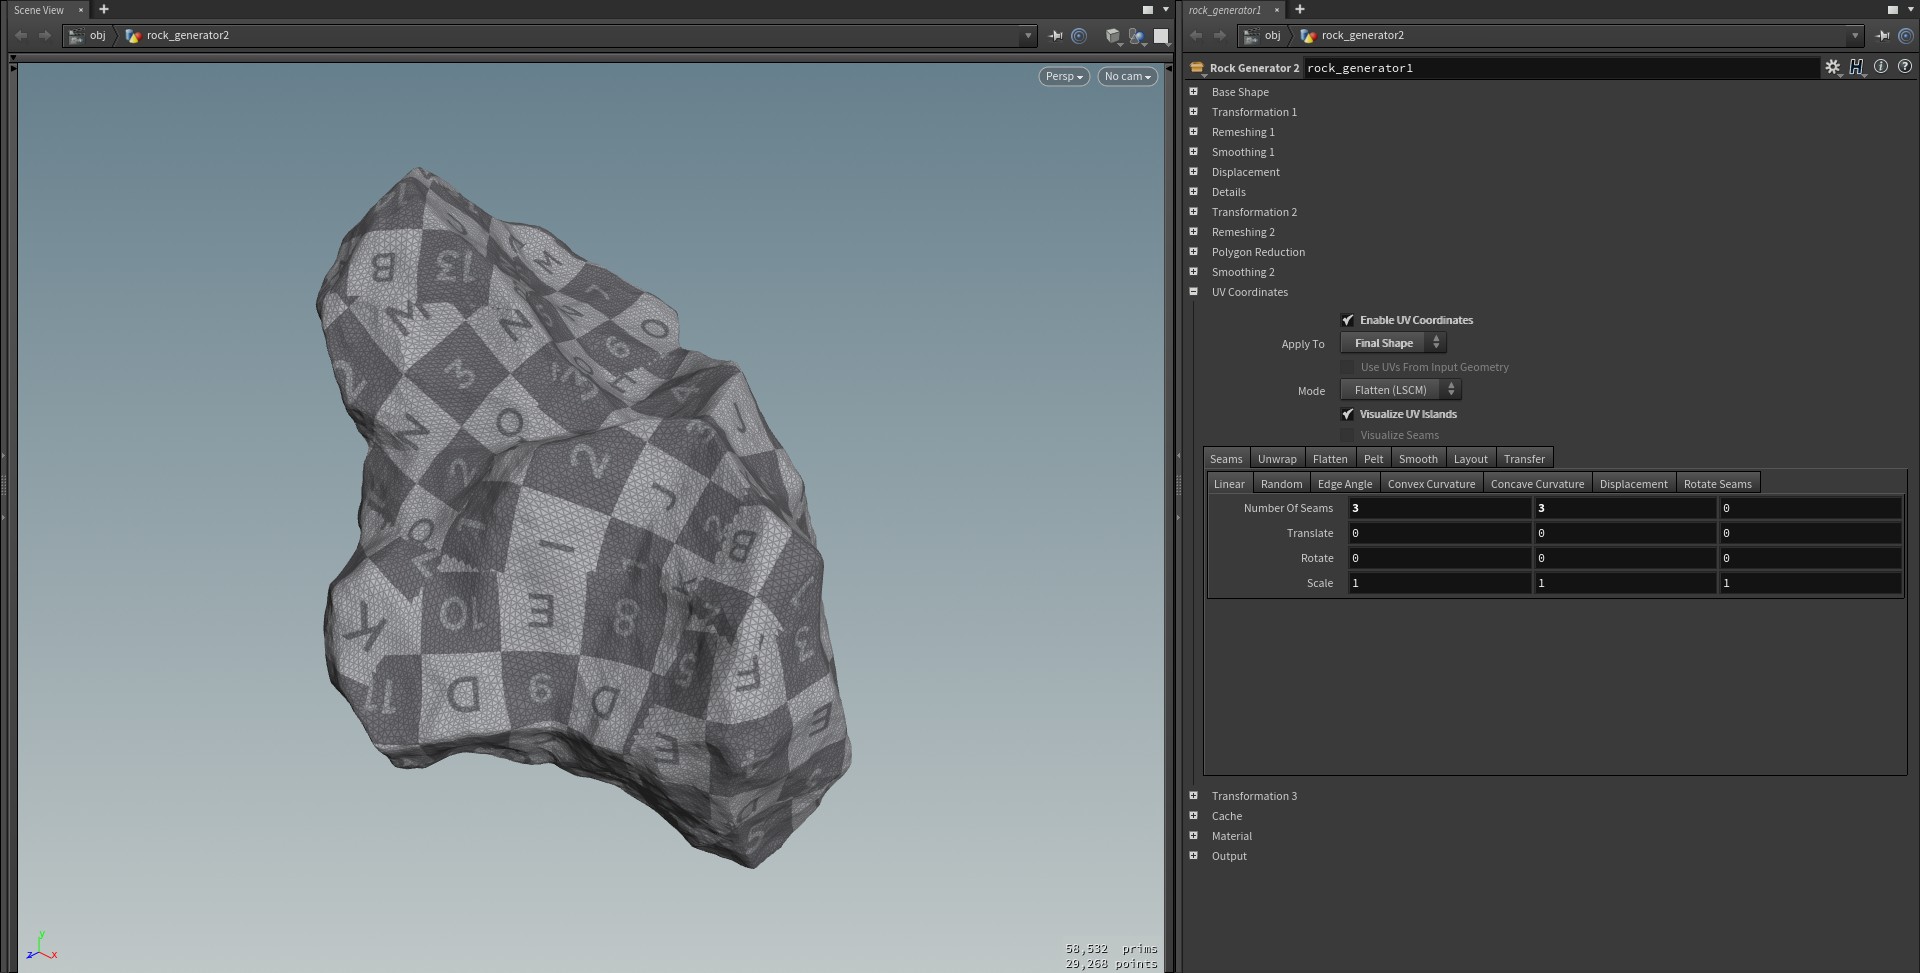
The "UV Coordinates" section has many new parameters: - "Apply To" sets if UVs should be applied to the base shape or the final shape.
- "Visualize UV Islands" visualizes UV islands using a UV grid and colors the islands on the geometry.
- The "Unwrap" mode now has more parameters to control the placement of the UVs.
- The "Flatten" and "Pelt" modes now have a "Seam Generation" parameter to set how the seams are generated. The settings for the seams can be found in the new "Seams" section:
"Linear": generates a specific number of seams on the X, Y and Z axes.
"Random": generates randomly distributed seams.
"Edge Angle": generates seams on points/edges where the angle between the primitives are at or above a specific angle.
"Convex Curvature": generates seams on points with the highest convex curvature.
"Concave Curvature": generates seams on points with the highest concave curvature.
"Displacement": generates seams on points with the highest or lowest amount of displacement.
"Rotate Seams": rotates the seams.
"Pelt" has a new "Use Frame" parameter which is useful when the UV islands needs to be streched into squares. - A new "Smooth" section has been added for smoothing the generated UVs.
- A new "Layout" section has been added for packing/aligning the UV islands.
- A new "Transfer" section has been added which is used for transferring UVs from the base mesh to the modified or final shape.
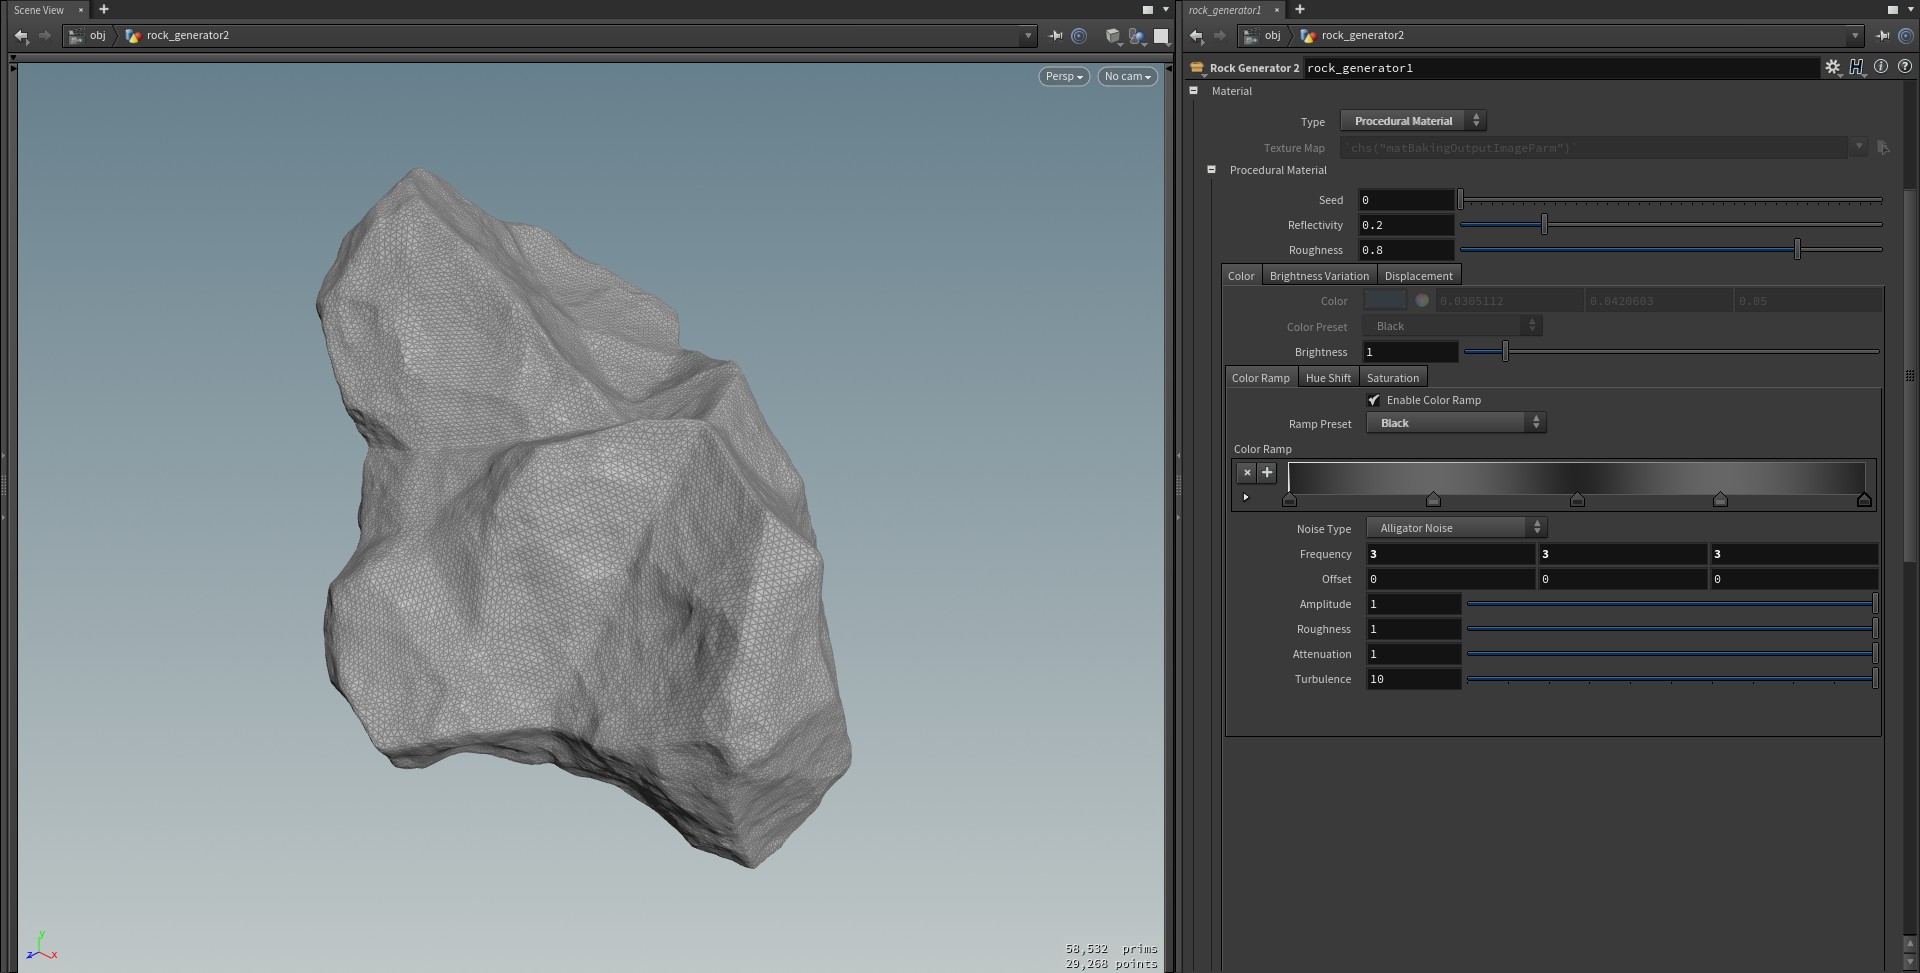
- The "Texture" section has been renamed to "Material" and now has many new parameters for controlling the look of the material:
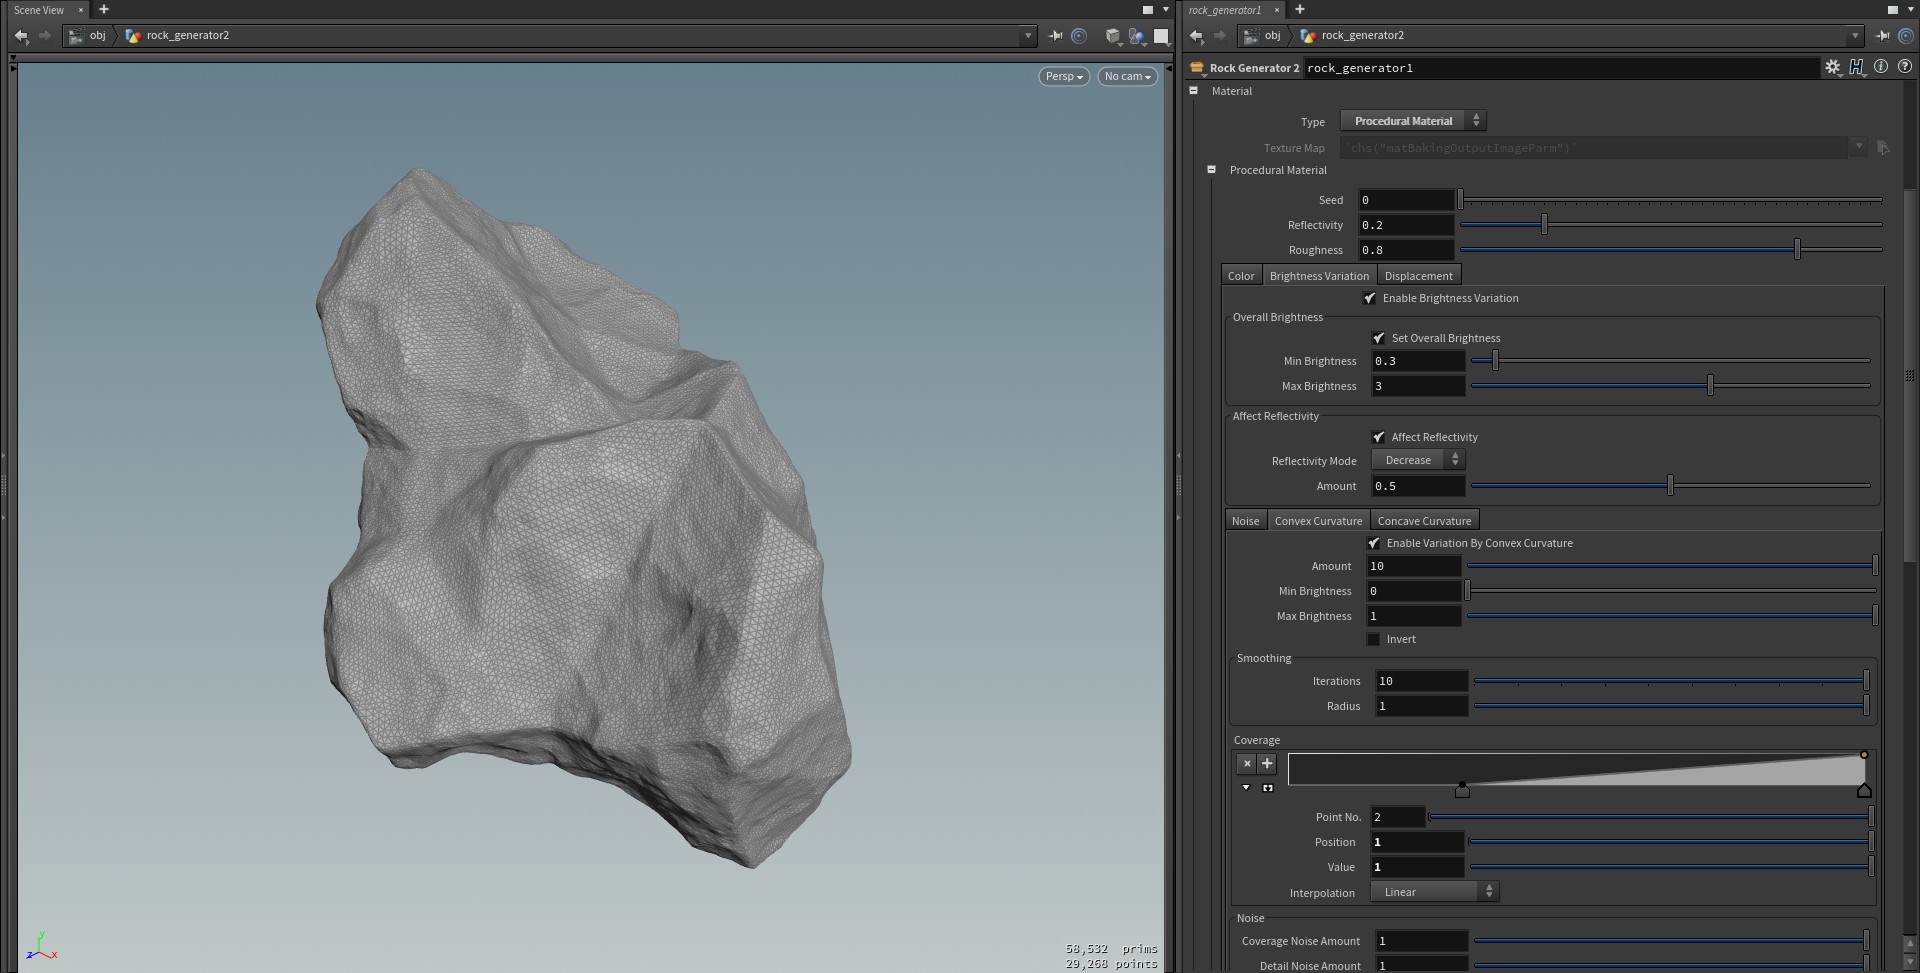
The "Color" section now has color and color ramp presets and parameters to control the hue shift and saturation variation. - The "Brightness Variation" section now has parameters to set the overall brightness and how to affect the reflectivity. It can also use the convex and concave curvature of the shape to modify the brightness.
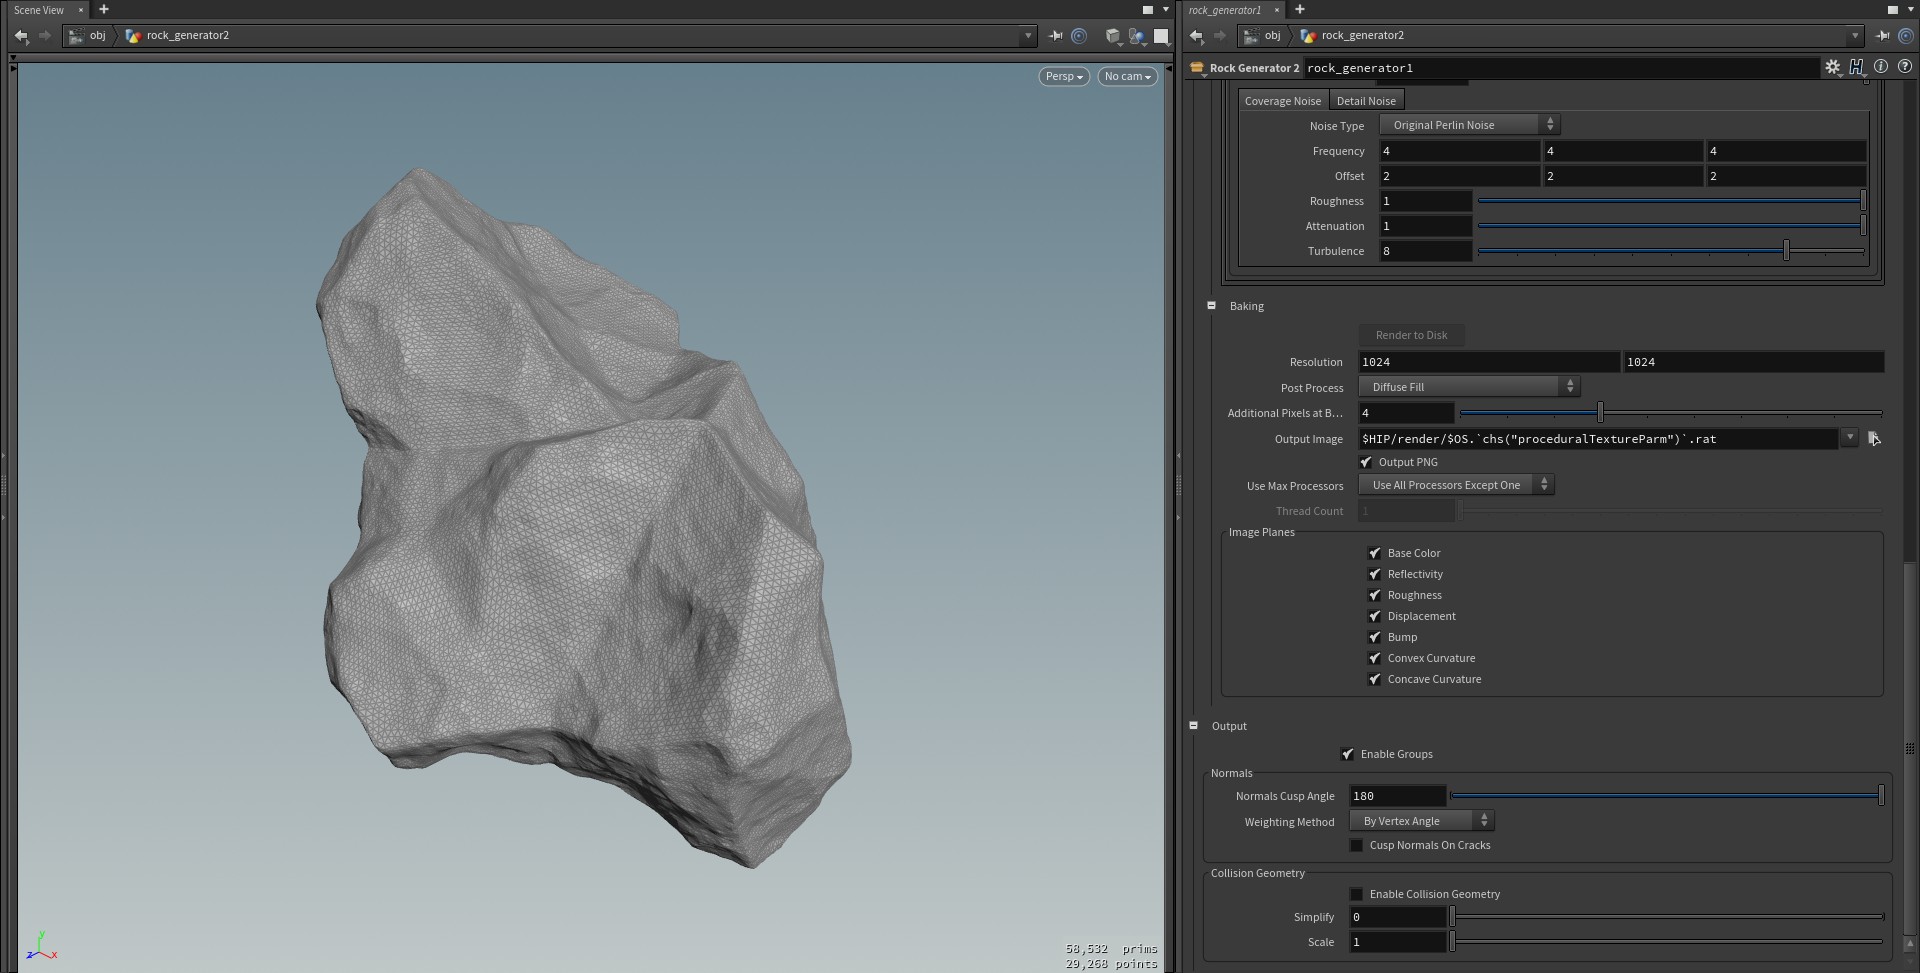
- The "Baking" section now has parameters to set which image planes should be baked: "Base Color", "Reflectivity", "Roughness", "Displacement", "Convex Curvature" and "Concave Curvature. The "Smoothing" sections now have a new "Preserve Sharp Edges" parameter and several other parameters giving much better results.
- The "Output" section now has "Weighting Method" to set how normals are generated. There's also a "Cusp Normals On Cracks" which will cusp the normals on points generated in the "Geometry Displacement 2" section.
- "Displacement" > "Volume Displacement 2" now has a slightly modified GUI and can generate random shapes to scatter around the main shape.
- All "Transformation" sections now has the "Drop To Ground" and related parameters.
- "Displacement" > "Geometry Displacement 1" > "Direction" is now set to "Average Surrounding Point Normal" by default.
- The GUI for "Geometry Displacement 1" has been slightly changed and simplified.
- "Polygon Reduction" now has a "Mode" parameter to set either the number of polygons to keep or a percentage.
- Fixed an issue with transforming the object after enabling "Drop To Ground".
- Updated the documentation.
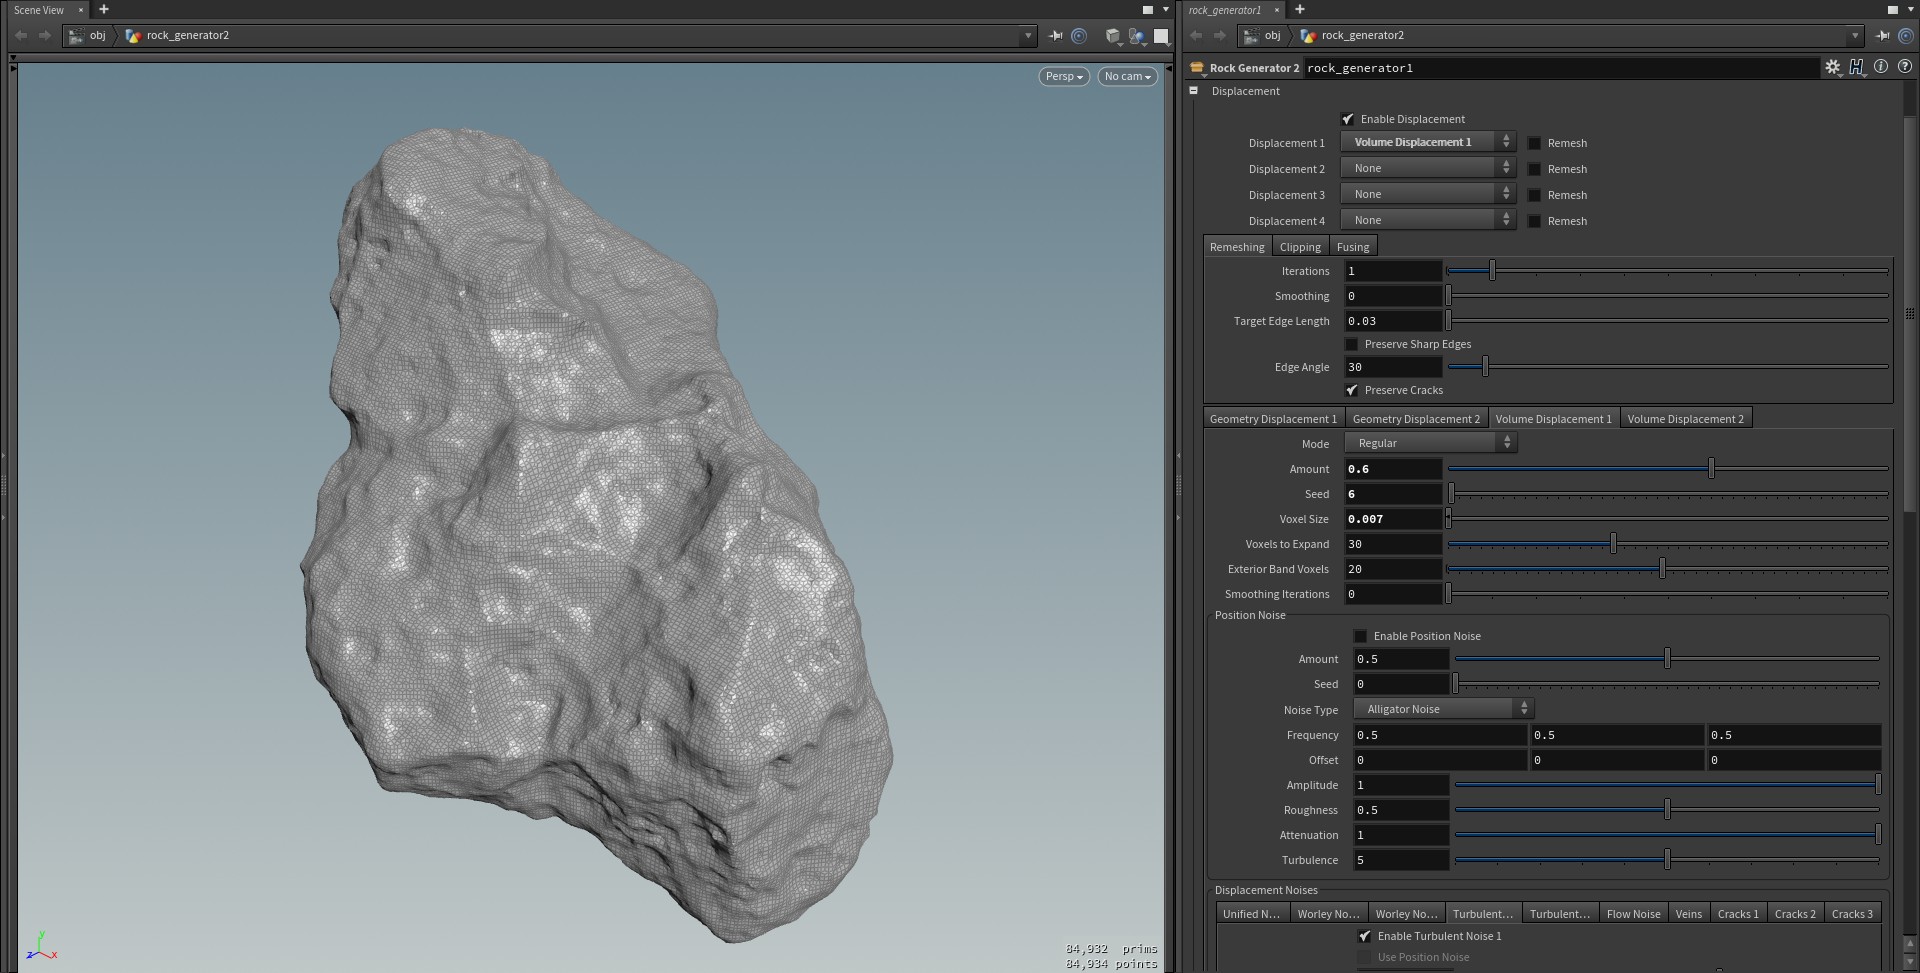
- Added "Mode" under "Volume Displacement 1". When set to "Regular" it works as in the previous version. When set to "Surface Normal Direction" it works similarly to how geometry displacement works, i.e. it moves the surface in the direction of the surface normals.
- Added "Smoothing Radius" and "Smoothing Iterations" under "Volume Displacement 1" > "Direction Smoothing". This smoothes/averages the direction of the displacement when "Mode" is set to "Surface Normal Direction".
- Added "Position Noise" under "Geometry Displacement" and "Volume Displacement 1". All displacement noises uses the position of each point/voxel to determine the noise value and displacement amount. By enabling position noise, a noise value is added to the position of each point/voxel before the displacement noise value is calculated. This can give interesting changes to the existing noises.
- Added "Use Position Noise" for each noise under "Geometry Displacement" and "Volume Displacement 1". Enabling this parameter will use the position noise if the parameter "Enable Position Noise" is also enabled.
- Added "Turbulent Noise 2" under "Volume Displacement 1".
- Added "Set Coverage", "Coverage" and "Depth" under each geometry and volume displacement noise (except for the "Veins" and "Cracks" noises). This controls how much of the rock surface will be covered by the noise.
- Removed "Enable Threshold", "Threshold Mode" and "Threshold" under each displacement. They've been replaced by "Set Coverage", "Coverage" and "Depth".
- Fixed and issue with the Rock 1 shader which caused the bump map to move over the surface during object/camera movement.
- Changed the default values of some parameters.
- Updated the documentation.
- Added "Mode" under "Volume Displacement" > "Worley Noise 1".
- Changed the default to "Flatten (LSCM)" for "UV Coordinates" > "Mode".
- Changed the range to 0-1 for "Volume Displacement" > "Worley Noise 1" > "Mode".
- Removed "Enable Smoothing" and "Smoothing Iterations" under "UV Coordinates" since they are currently not working as intended. They will hopefully be added back in a future version.
- Added "Generator" under "Base Shape" > "Shape Generator". This sets the way random shapes are generated. The previous parameters are contained under "Generator 1" and a new "Generator 2" has been added that provides a slightly better way to generate shapes.
- It's now possible to set the order in which displacements are applied. This is done using the three parameters "Displacement 1", "Displacement 2" and "Displacement 3". You can even apply the same displacement multiple times. The previous parameters "Enable Geometry Displacement", "Enable Volume Displacement 1" and "Enable Volume Displacement 2" have been removed and replaced with "Enable Displacement".
- Added "Remesh" for each displacement under "Displacement". This allows you to apply remeshing after each of the displacements have been applied. Each displacement will use the same settings available under "Remeshing". Note that this remeshing is separate from the existing "Remesh 1" and "Remesh 2".
- Added parameters for enabling/disabling each displacement noise.
- Added "Enable Smoothing" under "UV Coordinates". This applies smoothing to the geometry before applying UV coordinates and then returns the geometry back to the pre-smoothing shape after the UV coordinates have been created. This can improve the UV coordinates for Flatten and Pelt modes and often works better than the existing smoothing parameters in the Flatten mode.
- Added "Smoothing Iterations" under "UV Coordinates". This sets the amount of smoothing to apply when "Enable Smoothing" is enabled.
- Added a new mode called "Volume" under "Remesh 1" and 2. This mode will convert the geometry to a volume and then to quad polygons.
- Added "Fuse Points" under "Displacement" > "Fusing". Disabling it will lower the time it takes to generate the geometry.
- Added "Fuse Distance" under "Displacement" > "Fusing". Points that are at most this close to each other will be fused if "Fuse Points" is enabled.
- Added "Simplify Collision Geometry" under "Output". Increasing this will lower the number of polygons in the collision geometry.
- Added "Scale Collision Geometry" under "Output".
- The collision geometry is now triangulated.
- Added "Reverse Normals" under "Base Shape".
- Added "Triangulate" under "Base Shape" > "Shape Generation".
- Added "Mode" under "Geometry Displacement" > "Worley Noise 1" and 2.
- Improved the performance of "Geometry Displacement" when certain parameters are disabled.
- Removed "Average Neighbour Points Curvature" under "Geometry Displacement" > "Curvature Mode" since "Average Surrounding Points Curvature" is a better option.
- Renamed the "Cracks 1" 2 and 3 parameters under "Volume Displacement".
- Changed all Seed values to integers and changed the range to 0-1000.
- "Displace Interior" under "Base Shape" > "Shape Generation" > "Generator 1" is now disabled by default.
- Moved "Geometry Displacement", "Volume Displacement 1" and "Volume Displacement 2" to regular tabs under "Displacement".
- Moved the settings for clipping to a separate tab under "Displacement".
- Changed the range for the resolution of the baked texture.
- Fixed some non-working parameters under "Volume Displacement" > "Veins".
- Updated the documentation.
- Added "Average Surrounding Points Normal" under "Geometry Displacement" > "Direction". This displaces the points along the average normal of the surrounding points, including both connected and unconnected points. This will improve displacement on geometry with sharp edges.
- Added "Adapt to Normal Difference" under "Geometry Displacement". This adapts the displacement to the difference between the point normal and the average normal of the surrounding points. If the difference is zero, the point normal will be used as the displacement direction. If the difference is larger, the average normal of the surrounding points will be used. This will improve displacement on geometry with sharp edges.
- Improved "Adapt to Curvature" under "Geometry Displacement". The curvature values are now more smooth. Please note that the result is different from the previous version and the related parameters have been changed.
- Added "Average Surrounding Points Curvature" under "Geometry Displacement" > "Curvature Mode". This will use the average curvature of the surrounding points.
- Added "Curvature Maximum" under "Geometry Displacement". This sets the maximum allowed curvature a point can have, though it doesn't necessarily mean that any point will have that value.
- Replaced "Curvature Smoothing Frequency" and "Curvature Smoothing Iterations" with "Curvature Smoothing Radius" and "Curvature Smoothing Points to Search". These parameters provide a better way to smooth the curvature values.
- Renamed "Upper Curvature Threshold" to "Curvature Threshold". Points with a curvature value equal to or lower than the threshold will be displaced.
- Removed "Lower Curvature Threshold" under "Geometry Displacement" since it wasn't very useful.
- Added "Turbulent Noise 2" under "Geometry Displacement". This noise is useful for creating the look of broken/fractured areas. It has the same parameters as "Turbulent Noise 1" but with two additional parameters: "Coverage" controls how much of the rock surface will be covered by the noise. "Depth" controls how deep into the rock surface the noise should go.
- Added "Veins Direction" under "Geometry Displacement" > "Veins".
- Added "Cracks 1", 2 and 3 under "Volume Displacement 1".
- Remade the Rock 1 texture. It now has more realistic default colors and more parameters to affect the noises.
- Added a new crystal type 4.
- Added "Drop Before Transforms" under "Transformation 3", which is enabled by default. Disabling it allows you to transform (e.g. translate/rotate/scale) the rock before dropping it to the ground.
- Added an additional "Smoothing 1" after "Remesh 1". This is useful if you want to smooth the base shape before applying the displacement. The previous smoothing section has been renamed to "Smoothing 2".
- Changed the default value for "Cutoff Frequency" to 2.1 under "Smoothing 1" and 2.
- Removed "Filter Scale" under "Geometry Displacement" / "Volume Displacement 1" > "Unified Noise" since it doesn't affect the geometry.
- Renamed "Turbulent Noise" to "Turbulent Noise 1" under "Geometry Displacement".
- Updated the documentation.
- Added a new volume displacement mode, "Volume Displacement 1" under "Displacement". This is similar to geometry displacement but is more suitable for displacing non-spherical geometry. This mode also has a threshold mode that only applies displacement when the noise value is below or above a certain threshold value.
- Added "Enable Clipping" under "Displacement". This is used to clip/cut of the rock geometry to create a flat base and is useful for removing the part of the rock that is under the ground. Note that the normals cusp angle is set to 45 for the clipped area so that there's no smoothing on the edges.
- Added "Clipping Origin" under "Displacement". This sets the position of the clipping plane.
- Added "Clipping Direction" under "Displacement". This sets the direction of the clipping plane on the X, Y and Z axis. For example, values 0 1 0 will make the clipping plane lie on the XZ plane.
- Added "Apply Clipping After UV Coordinates". This applies the clipping after applying the UV coordinates instead of after the displacement. This can create cleaner UV coordinates but no UV coordinates will be applied to the clipped area.
- Added "Smoothing Iterations" under "Volume Displacement" 1 and 2. This applies smoothing to the volume before converting it to polygons.
- The previous volume displacement mode has been renamed to "Volume Displacement 2".
- Added "Seed" under "Geometry Displacement" and also for each noise type. Setting the seed value at 0 (default) will give the same results as in the previous version.
- Added "Source Scale" under "Shape Generation". This is used to scale the source geometry used for generating the shape.
- Added "Only Inside Source" under "Shape Generation". This will only generate shapes that are inside the source geometry. The purpose of this is to get the displacement noise applied to all sides of the shape.
- Added "Rotate Seams" under "UV Coordinates". This rotates the edges that are used as seams by the Flatten and Pelt modes.
- Added "Visualize Seams" under "UV Coordinates". This will show small spheres where the UV seams start/end and add color to the seams. The seams will look different depending on if the UV mode is Flatten or Pelt.
- Selecting "Box" under "Shape Generation" now shows "Source Divisions".
- Setting "Variations" to 1 under "Shape Generation" will now show the original source geometry selected under "Source".
- Improved the positioning of the UV seams.
- Excluded crystals from Polygon Reduction.
- The rock and crystal geometry are now in separate groups.
- Moved "Transformation 3" so that it's applied after "UV Coordinates". This was done so that the last transformations can be applied without affecting the UVs. If you want to rotate the UVs you can use the "Rotate Seams" parameter.
- Added a new "Output" section.
- Moved "Normals Cusp Angle" to the "Output" section.
- Added "Enable Collision Geometry" under "Output". This will surround the rocks and crystals with low res collision geometry that works with game engines.
- Added "Enable Remeshing" under "Shape Generation" (enabled by default so it's compatible with older versions). Disabling this can be useful when using volume displacement.
- Renamed "Triangulated Random Shape" to "Random Shape" under "Base Shape", since it's now possible to disable remeshing/triangulation of this type of shape.
- Changed the default value for "Veins Projection" to "Spherical".
- Increased the range of the parameters "Exterior Band Voxels" and "Interior Band Voxels" under "Volume Displacement 2" to 40.
- Fixed an issue where "Sharpen" under "Crystals" could sometimes generate overlapping points.
- Updated the documentation.
- Fixed an issue with duplicate objects being show in Cinema 4D, Unreal Engine and Unity.
- Increased the "Base Shape Divisions" range to 200.
- Changed the default value for "Post Process" to "Border Expansion".
- Changed the default value for "Additional Pixels at Border" to 4.
- Start Houdini.
- Click the Assets menu > Install Asset Library.
- Click the browse button and double-click on the hda-file.
- Click Install.
- Create a new geometry node by pressing tab > click Geometry > Geometry and go inside it.
-
Create a Rock Generator node by pressing tab > click Digital Assets > Rock Generator 2.7.
You should now see a basic rock mesh. - To apply the material, press tab > click Digital Assets > Rock Material.
- Connect the output of the Rock Generator node to the Rock Material node.
-
See here for a demonstration.
For more info, please see the node documentation inside Houdini by clicking the "?" button.
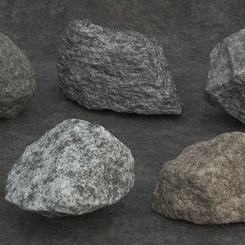
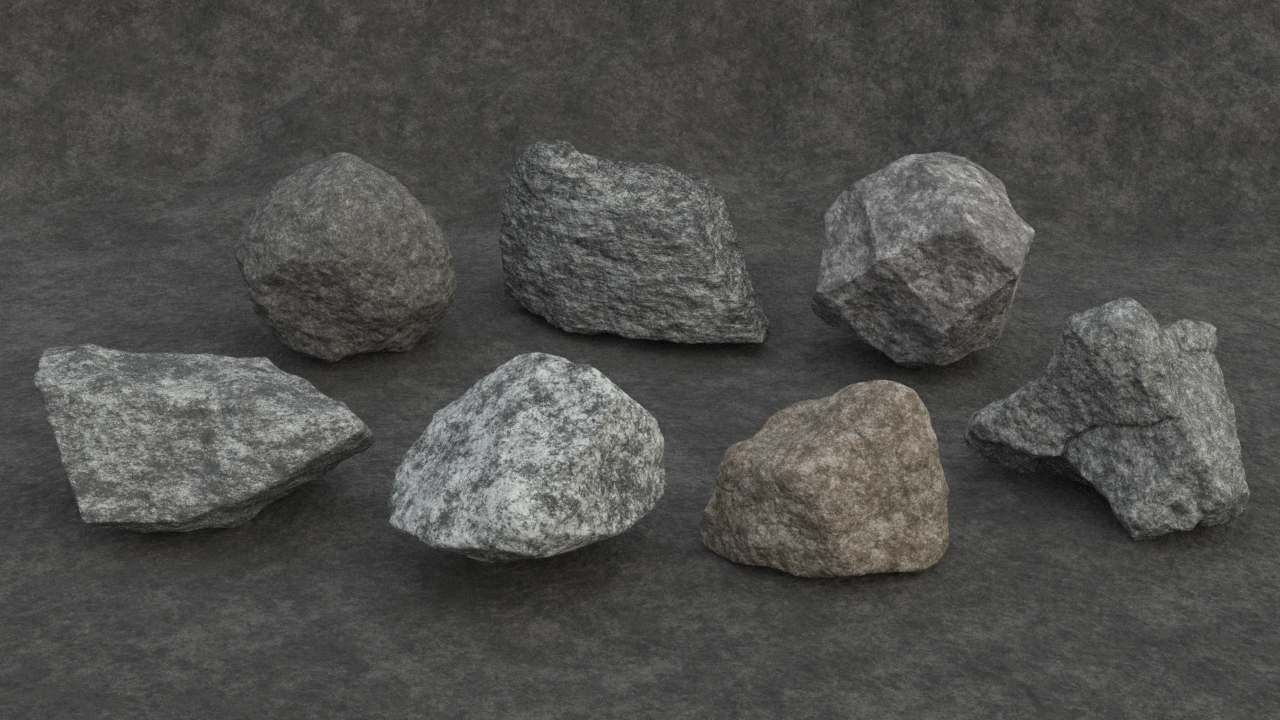
This is a SOP node that generates rock geometry with UV coordinates and a material.
The procedure is as follows (each step can be turned on/off):
- Select a base shape, either a sphere, a randomly generated shape or use input geometry.
- Transform the base shape.
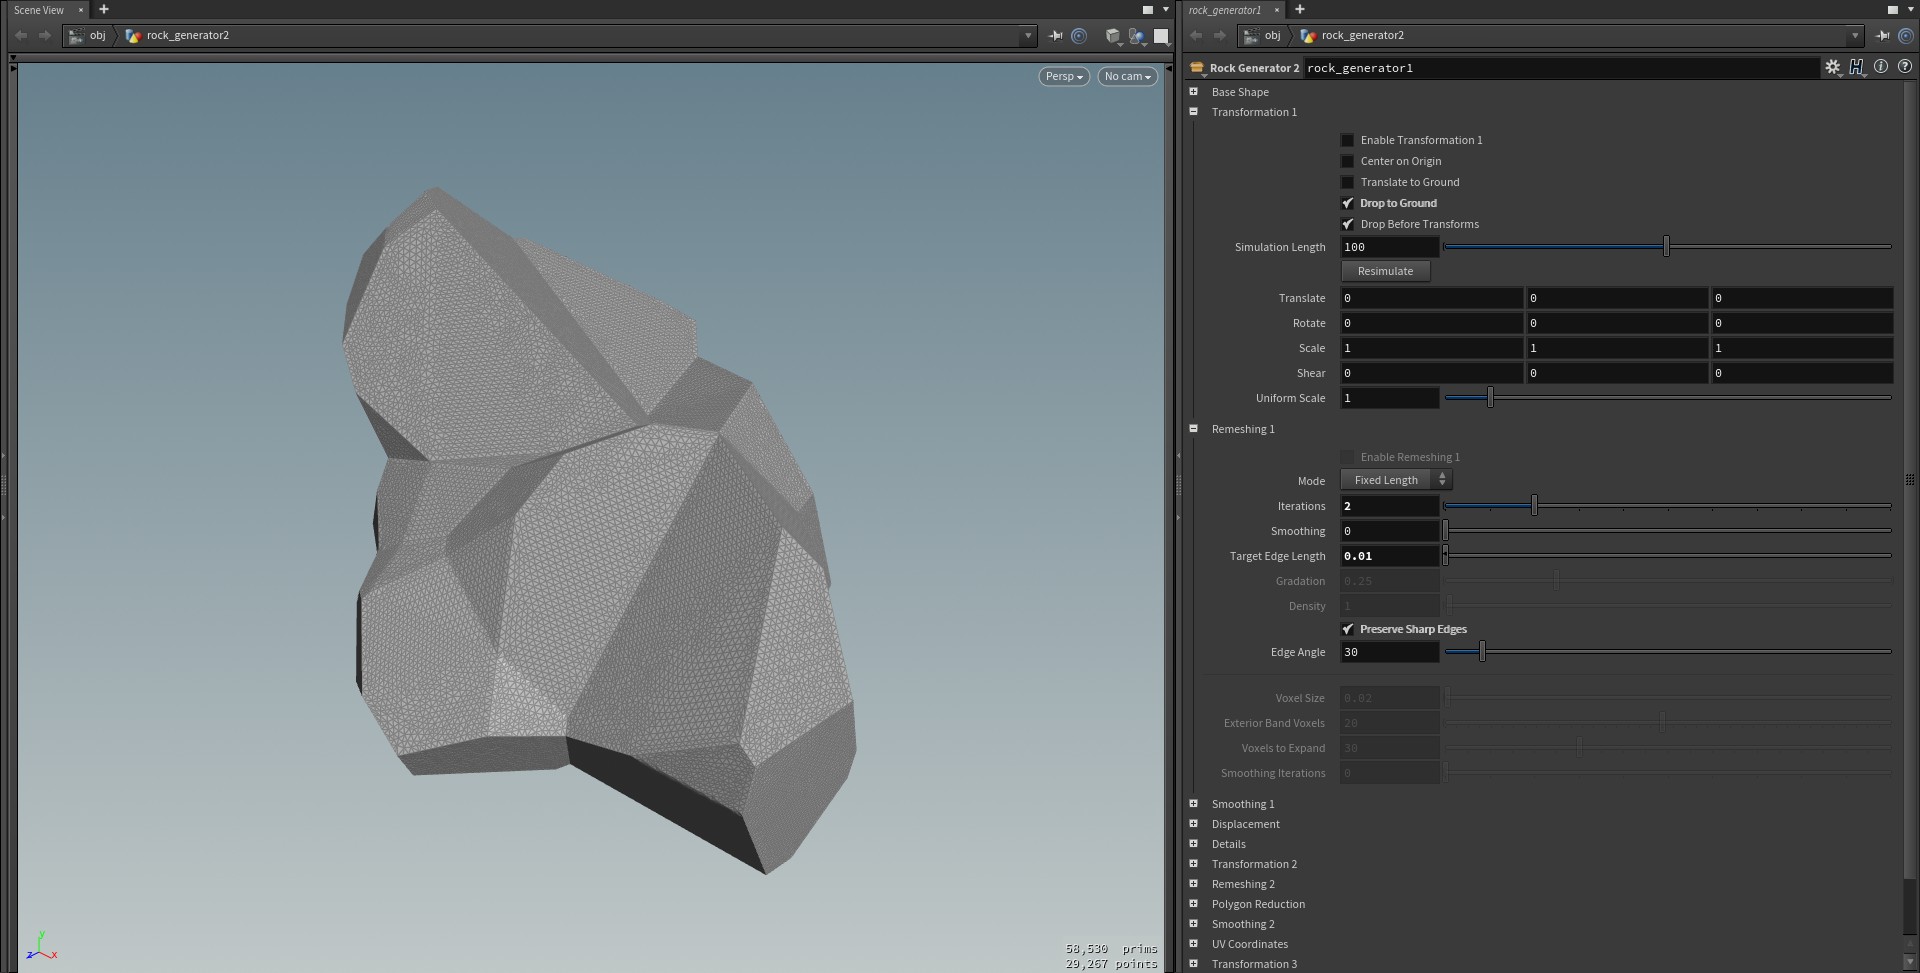
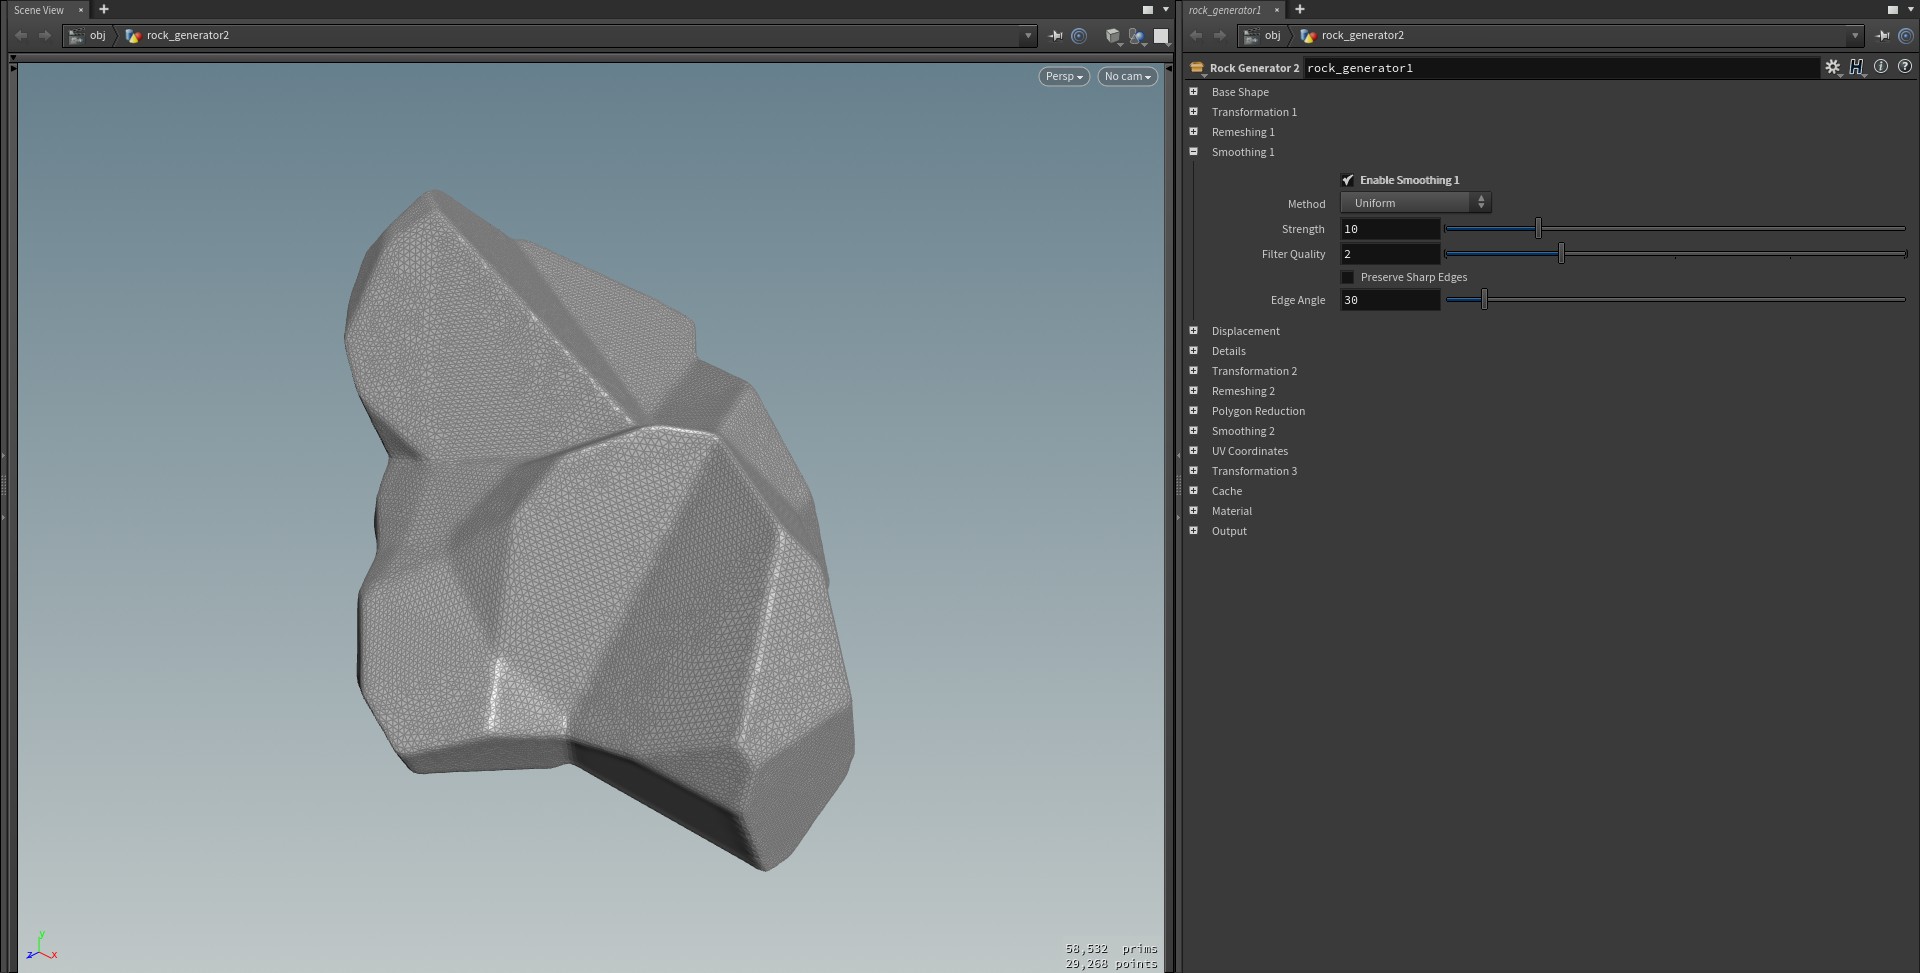
- Apply remeshing and smoothing.
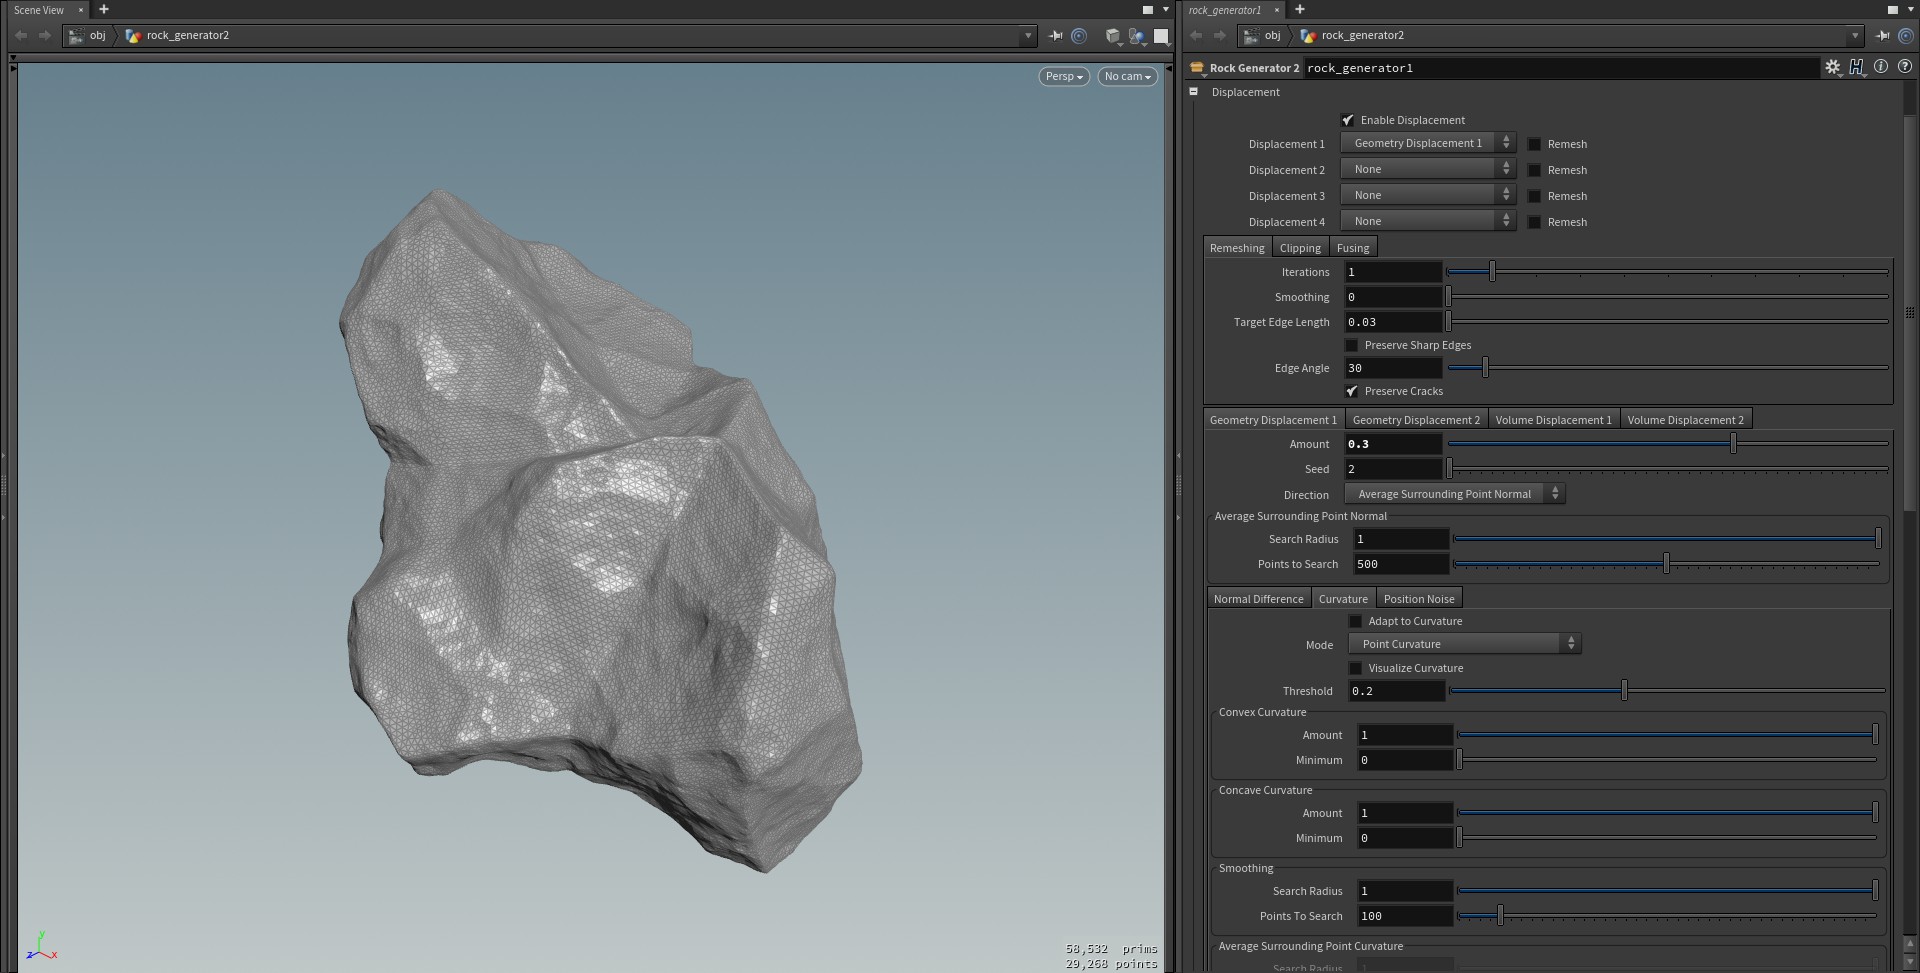
- Displace the base shape with various noises. There are five different types of displacements that can be applied and each type can use multiple types of noises.
- Add details such as small rocks or crystals on the rock surface.
- Apply an additional transform.
- Apply additional remeshing and smoothing.
- Apply polygon reduction.
- Create UV coordinates.
- Apply a final transform.
- Apply a procedural material which can also be baked to a file.
The material is provided as a separate SOP node since it needs access to the geometry to calculate some attributes used by the material.
Version: 2.7
Date: 22 March 2020
Supported Houdini versions: 16.0 or later
The asset is provided as either a locked/blackboxed HDA (the nodes inside cannot be viewed/edited) or an unlocked (editable) HDA file and can be used in Houdini FX, Core, Indie and Apprentice.
Price:
- Locked HDA: $5
- Unlocked HDA: $10
You may download a trial version from Orbolt before buying if you prefer. Please note that future updates to the asset will always be posted on Gumroad first.
License:
- You may use the asset for both non-commercial and commercial purposes.
- The locked/blackboxed (non-editable) asset file is licensed for one user. The file is not locked to a specific computer and may be copied if needed.
- The unlocked (editable) asset file may be used by multiple users at the same company, however it is appreciated if one file is purchased per user.
- You may not make the asset file available for download elsewhere, by itself or as part of another asset or project.
Note: the video is from version 1.5 and a lot of improvements and changes have been done since then.
If you have any questions, feature requests or bug reports please contact me.
